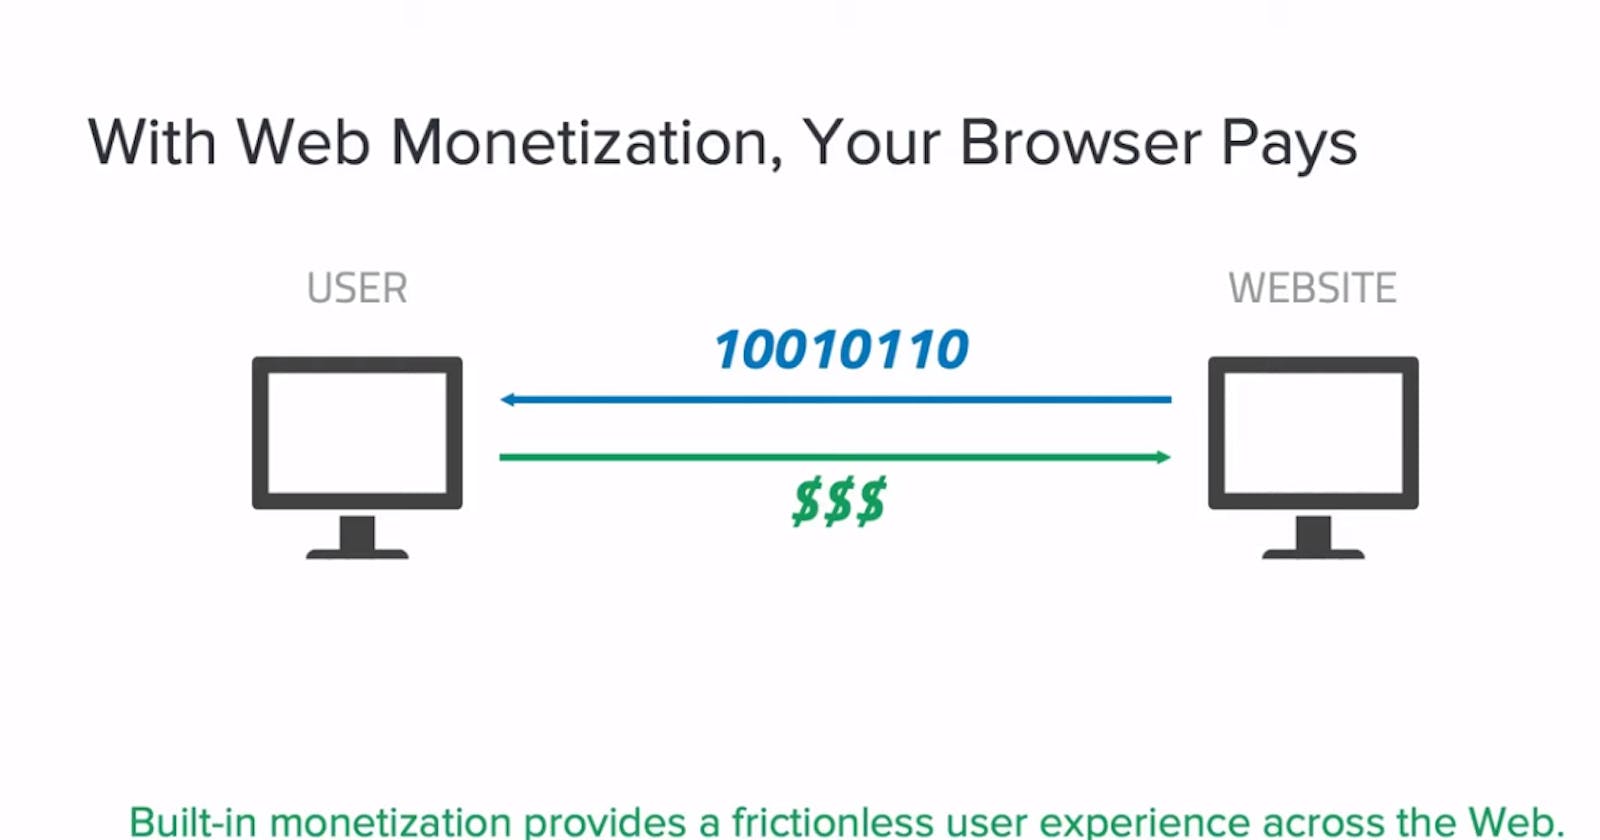
Step by Step Process to Get Started in Monetizing YouTube, Hashnode, Dev Community, and Website.
Monetize Your Content Without Using Ads
Hey guys it's high time you take control of your content and start getting paid, bypass all protocol, and still get paid immediately on all your contents. I am here again and here to enlighting you on how to set up your content as a creator, I won't be dwelling on theory, but I will be taking you through the practical aspect. I will advise you to take 5 minutes to check my previous blog post before diving into today's teachings, for a foundational understanding of web monetization.
Table Of Contents
- Short Overview of Web Monetization.
- How To Get an Interledger Wallet?
- How To Signup for Coil?
- How To Monetize Your YouTube Channel?
- How To Monetize Your Hashnode?
- How To Monetize Your Dev Community?
- How To Web Monetization Your Website?
- What you should watch out for.
- What I am expecting from you.
- Reference
1. Short Overview of Web Monetization
Before the advent of Web Monetization, the popular models for content creators to generate revenue from their content online have always revolved around Google Adsense, subscriptions, sponsored content, affiliate marketing, and privacy invasion, which incur high expenses to the creator and draws unnecessary users' attention whereby breaking the flow of concentration and amusement derived from content.
What is web monetization? Web Monetization is the only model that puts both the content creator and user in mind for content and revenue allocations. It is also the process of making revenue from the traffic coming to the website, having website monetization enabled.
Coil uses an open API called Web Monetization in order to pay sites in real-time via Interledger protocol (ILP). This way, sites can securely provide rewards to any users who have Web Monetization enabled, creating a self-sustaining economy.
I will advise you to get all hands on the desk as we begin to praticalize, don't just read let me hold you by the hand to set up.
2. How To Get an Interledger Wallet?
First, you must note that every Man needs a Bank account to receive money, we want to open our Bank Account which is referred to as Interledger Wallet. We will be making use of UPHOLD because of its flexibility and accessibility in all country. Click on UPHOLD to signup for your wallet. Follow these 6 simple steps.
Fill in Your Details
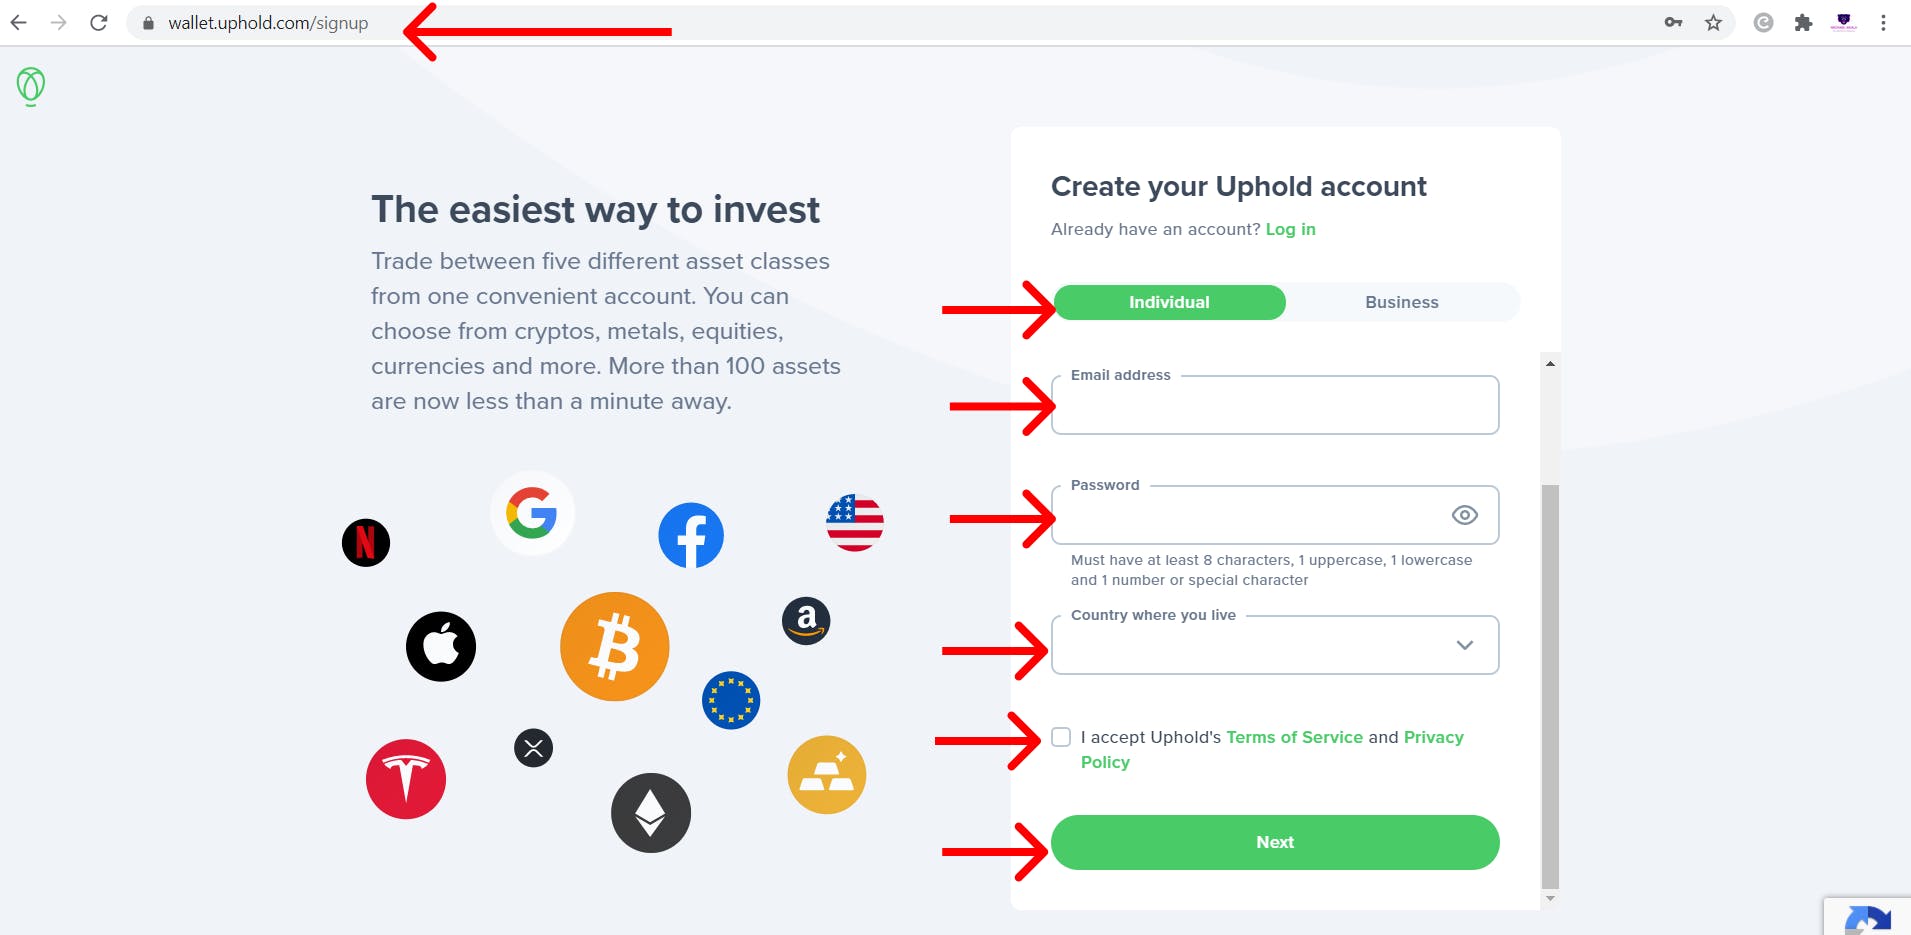
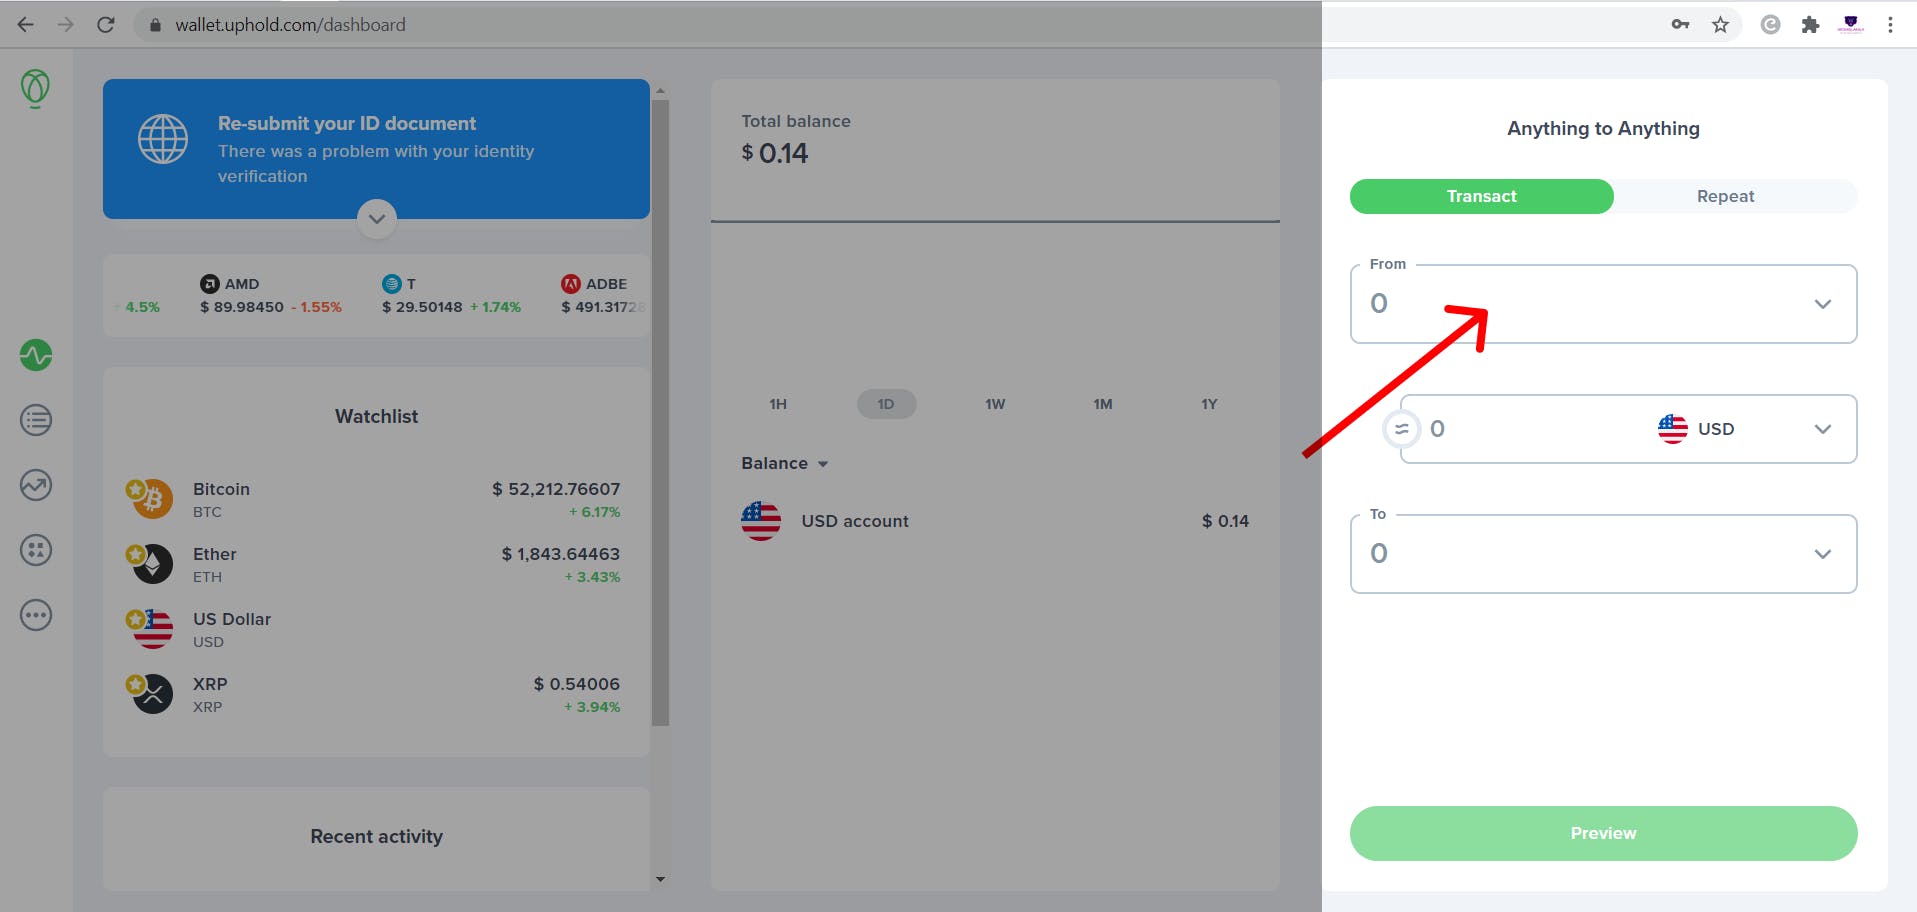
I believe you done filling in all your details and you are log in. The next step to get or generate your personalized payment pointer.
Click on the transact tab by the right-hand side, it will bring a drop-down menu.
Scroll down to the end.
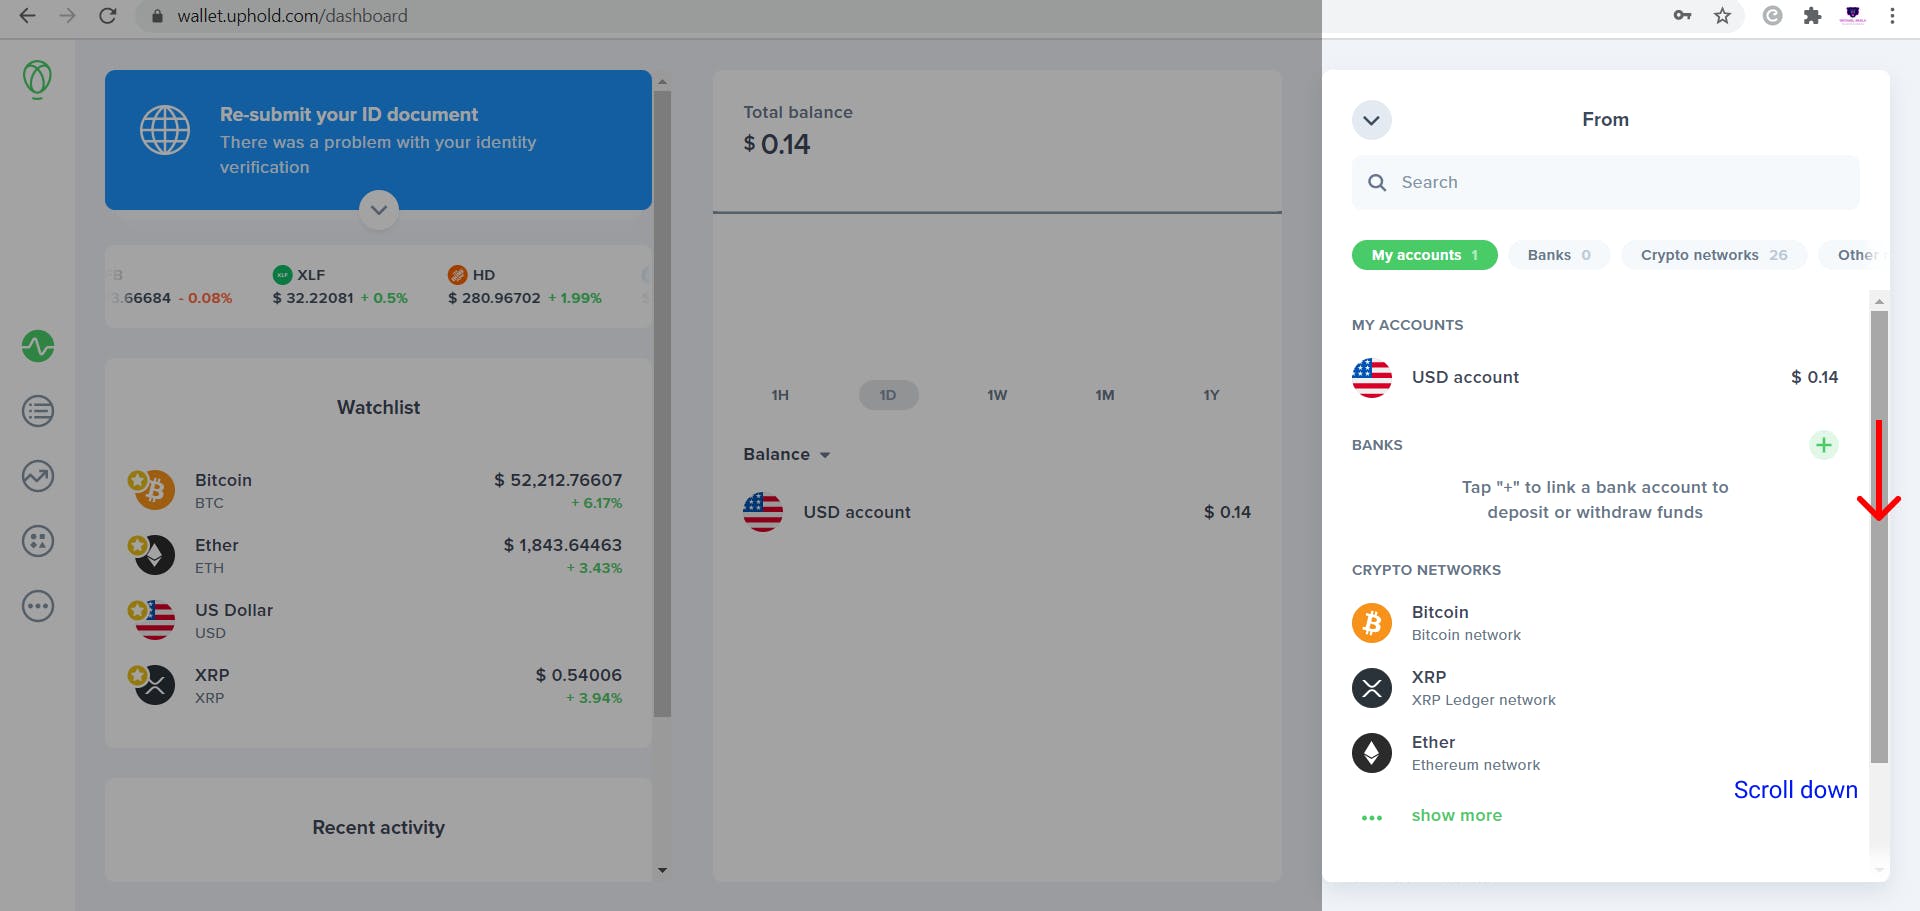
Click on Interledger Network, wait for the prompt out.
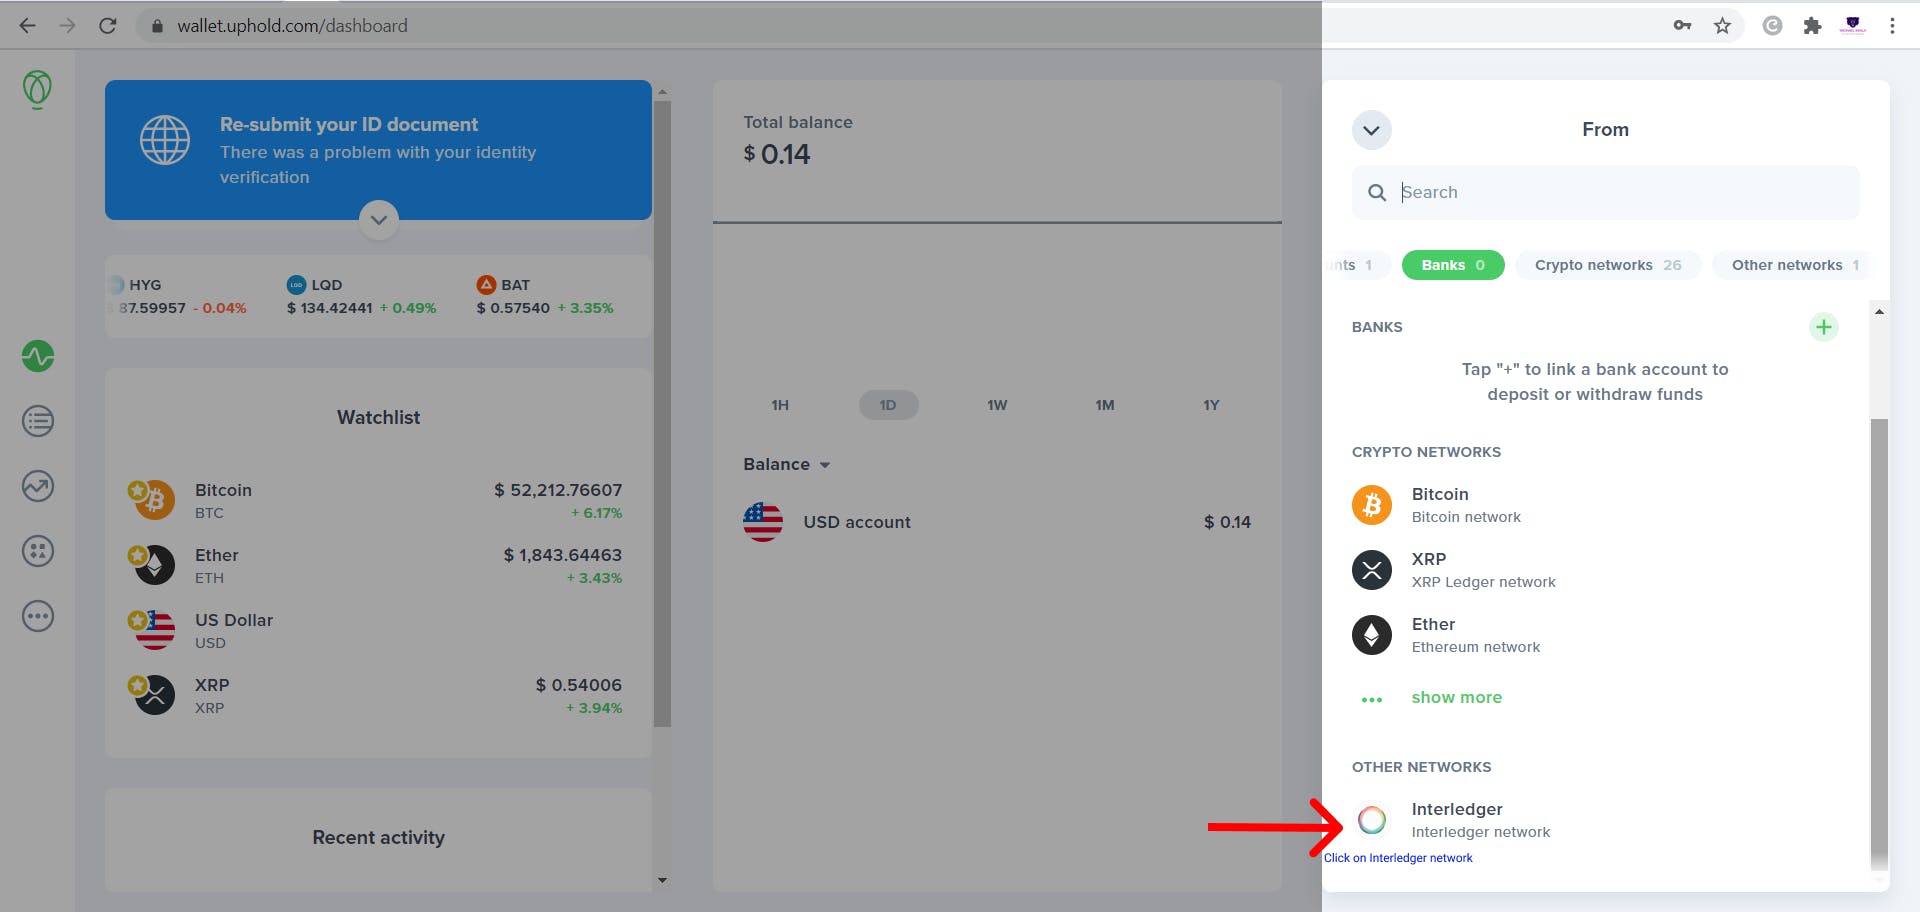
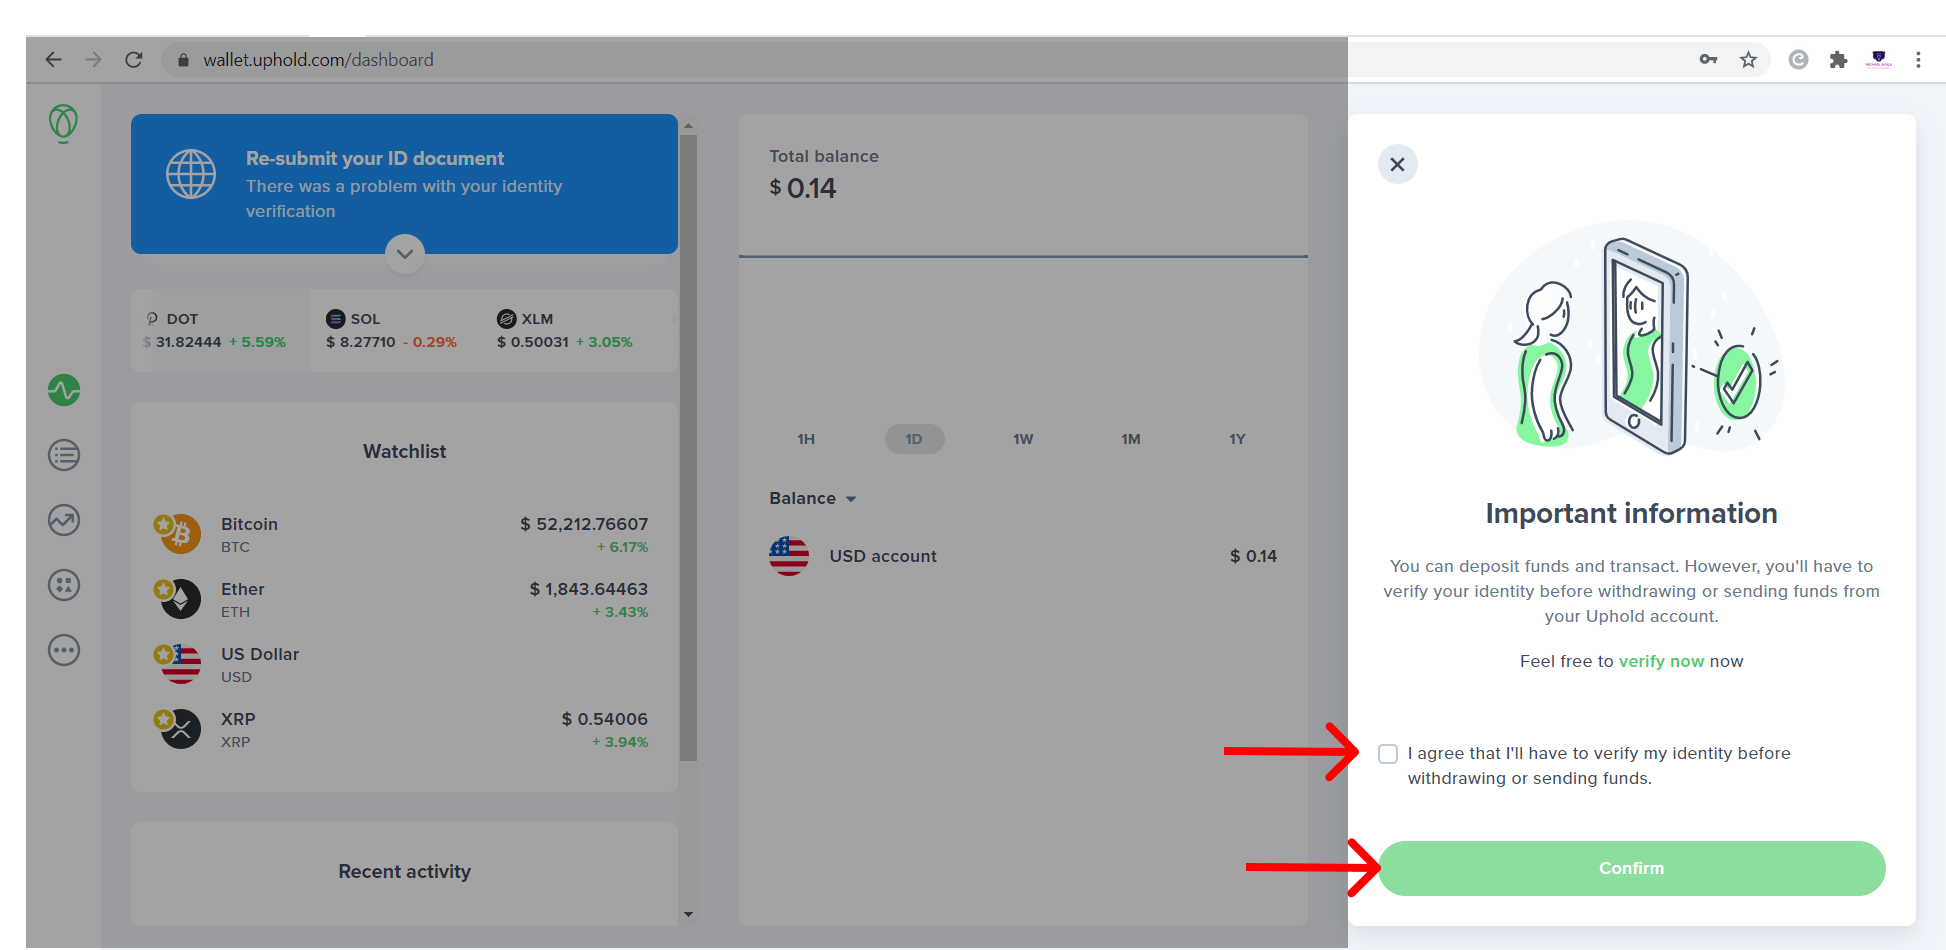
Check-in or Click on "I agree that I'll have to verify my identity before withdrawing or sending funds". Afterward, click on confirm to continue. Note you can continue to use your wallet without verifying your identity. You may also download UPHOLD Wallet on your mobile phone to monitor your cash.
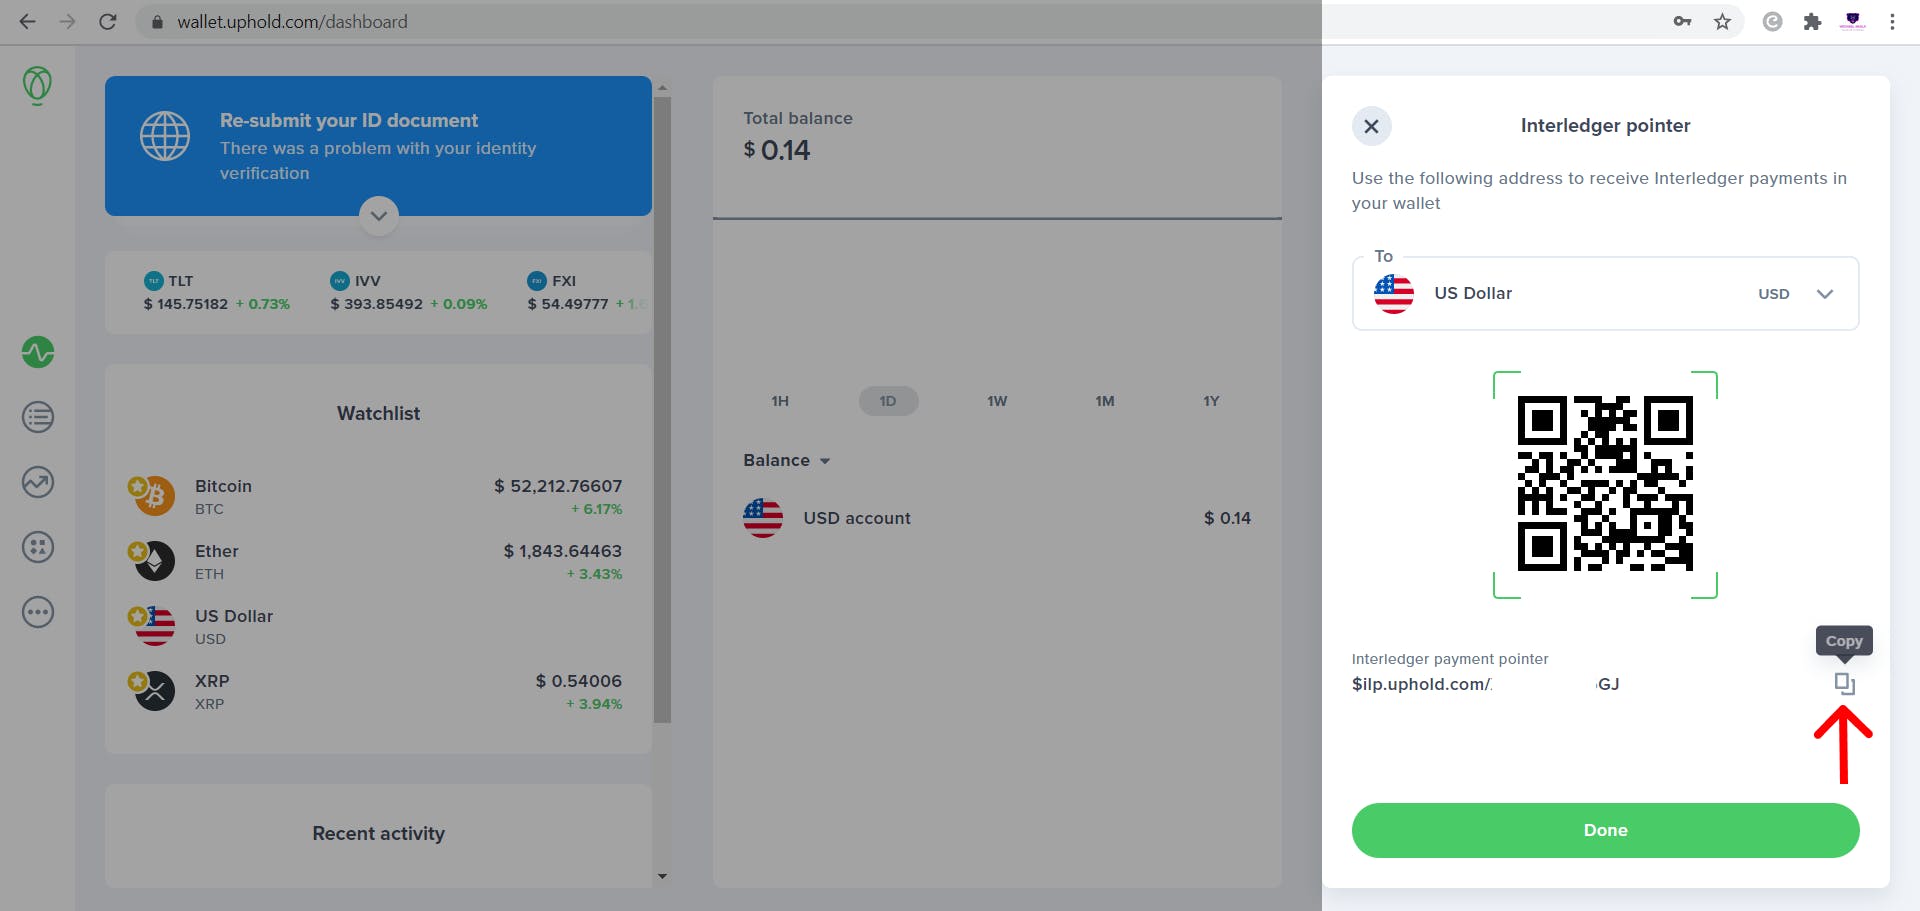
Copy your Payment pointer, and get set to past or connect it to your coil account to monetize your content. But before then past it in your note, also make sure you don't have too many Tab opened except for the once you and I are making use of. You have successfully open your Interledger Wallet that can be likened to your Bank Account.
3. How To Signup for Coil?
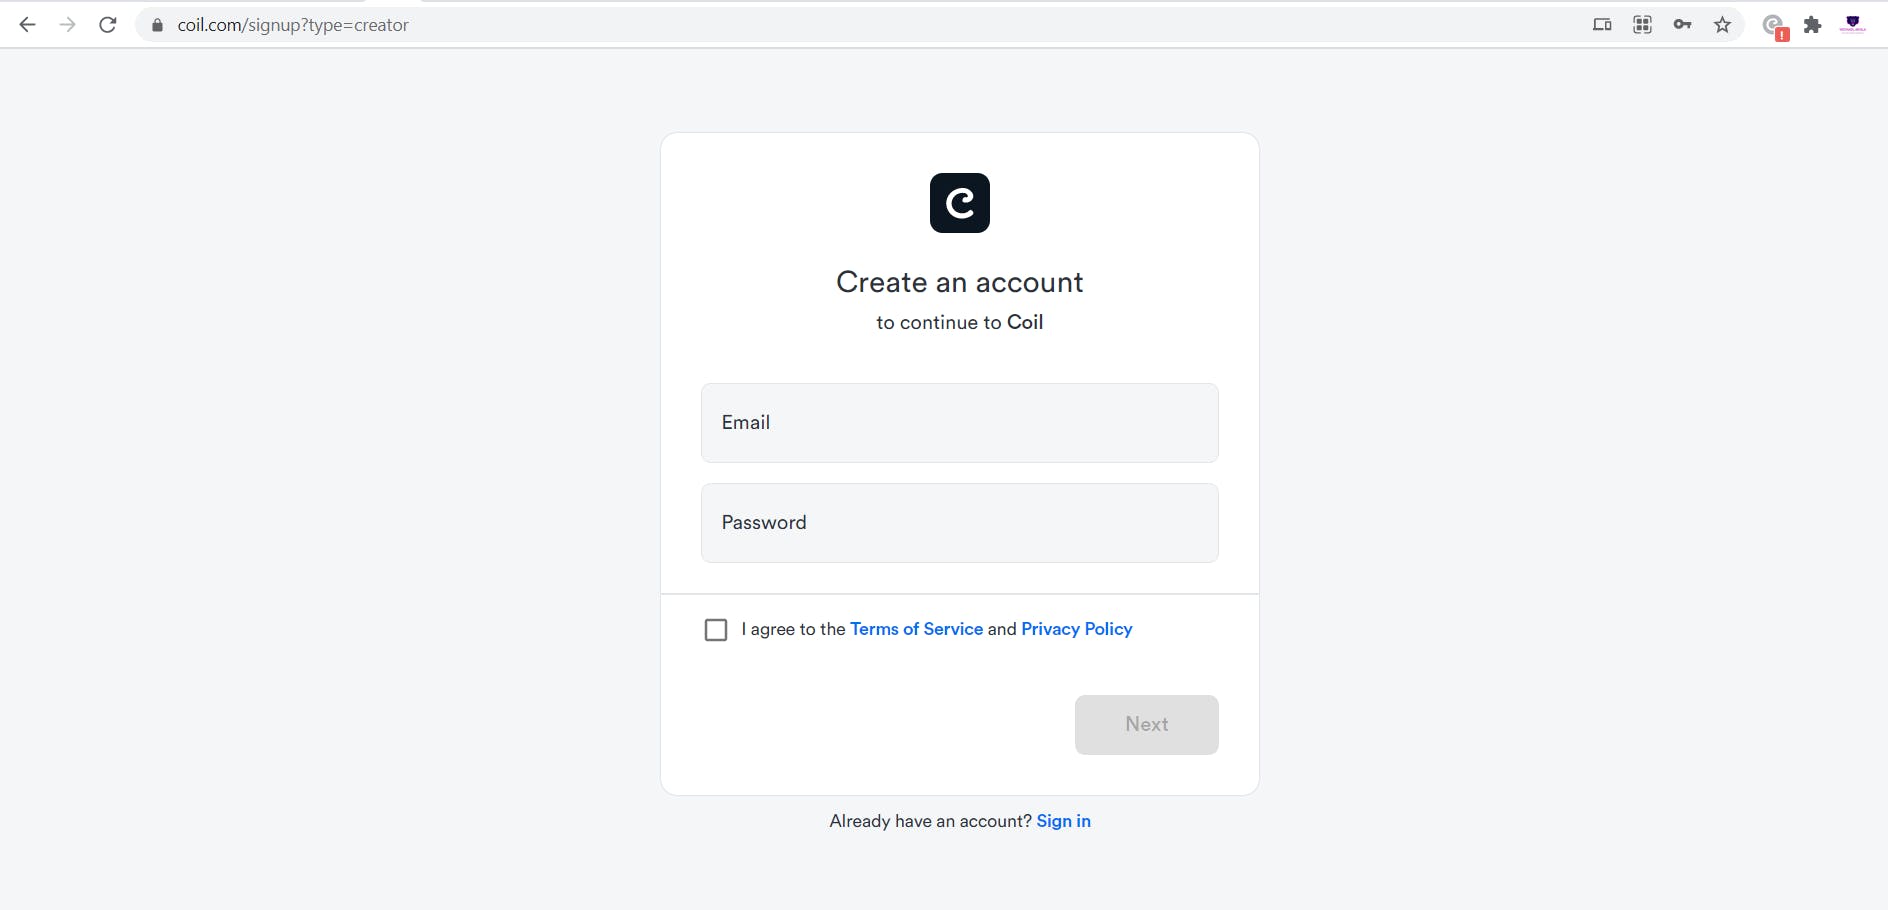
Let me quickly introduced you to coil. Coil is a Web Monetization provider that provides a Standardise way for a content creator to access web monetization (WM) and coil subscribers are able to pay for web monetized content, a way to encourage content creators. Click on Coil to sign up as a creator now. [Read more about the coil] (help.coil.com/docs/general-info/intro-to-co..).
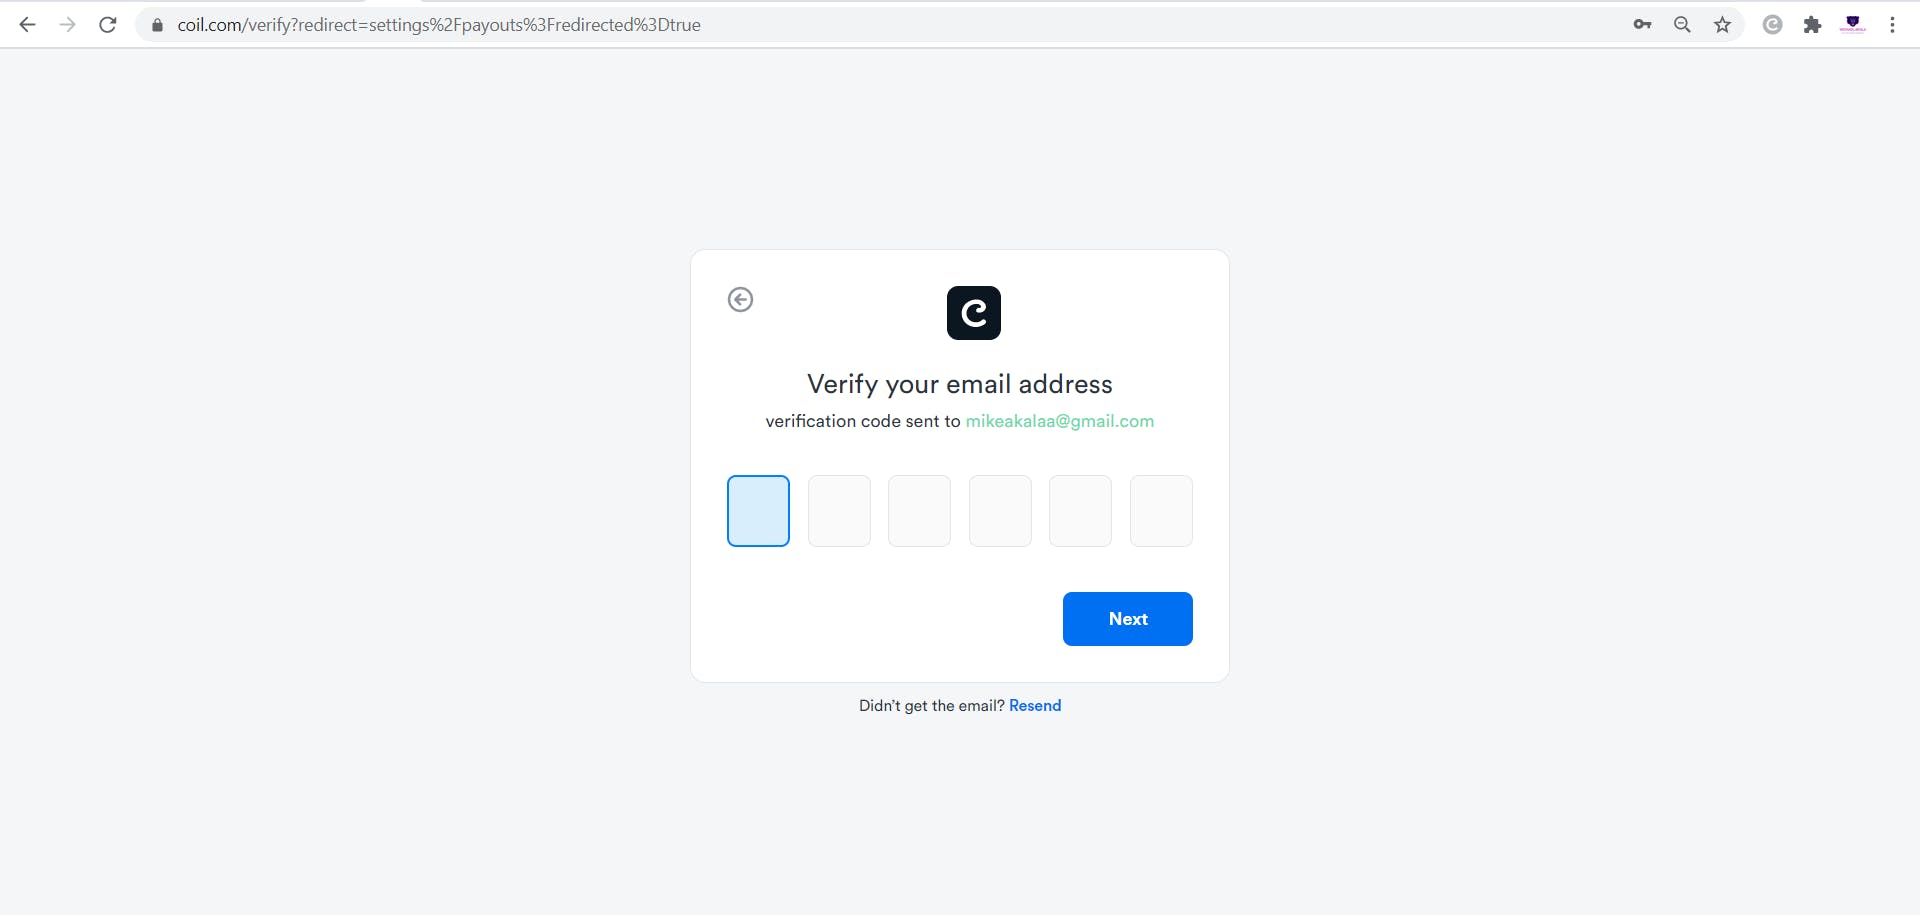
You should get a screen like this, proceed to fill in your credentials. You should get a mail, check for the 6 digits OPT, use it to verify your account
Verify your account, check your email to enter the OTP in the box. Now you are done with your account verification, you to set up or connect your payment pointer to coil next.
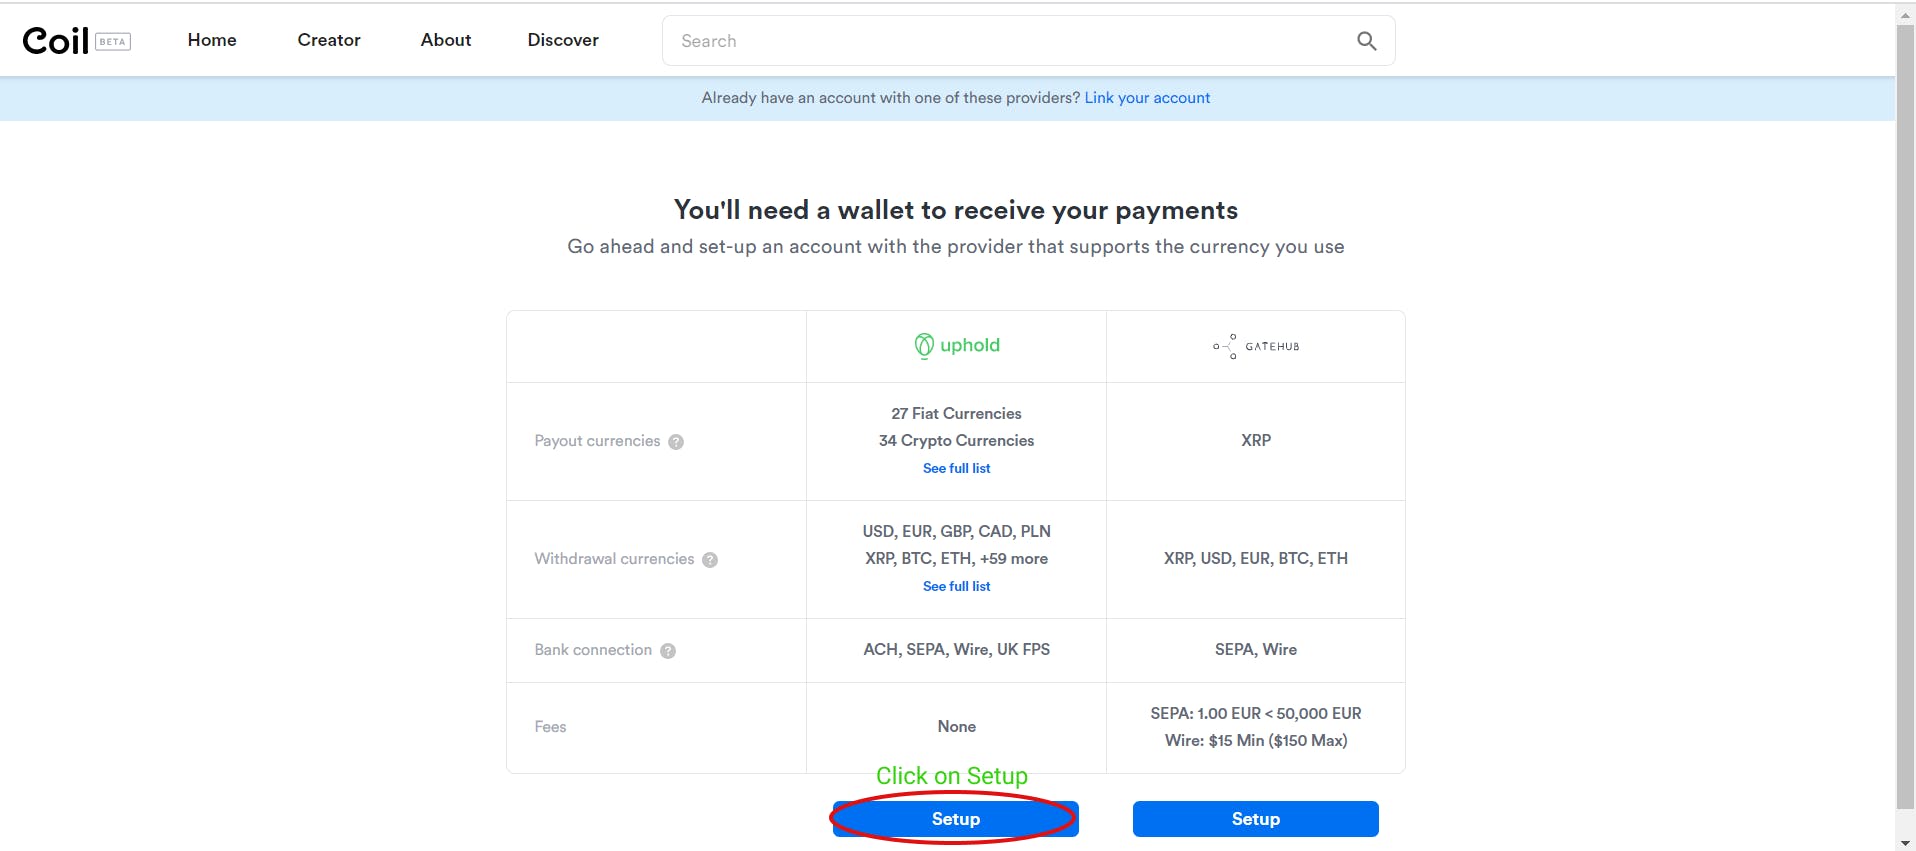
Set up your payment pointer now, make sure you choose UPHOLD. Click on setup.
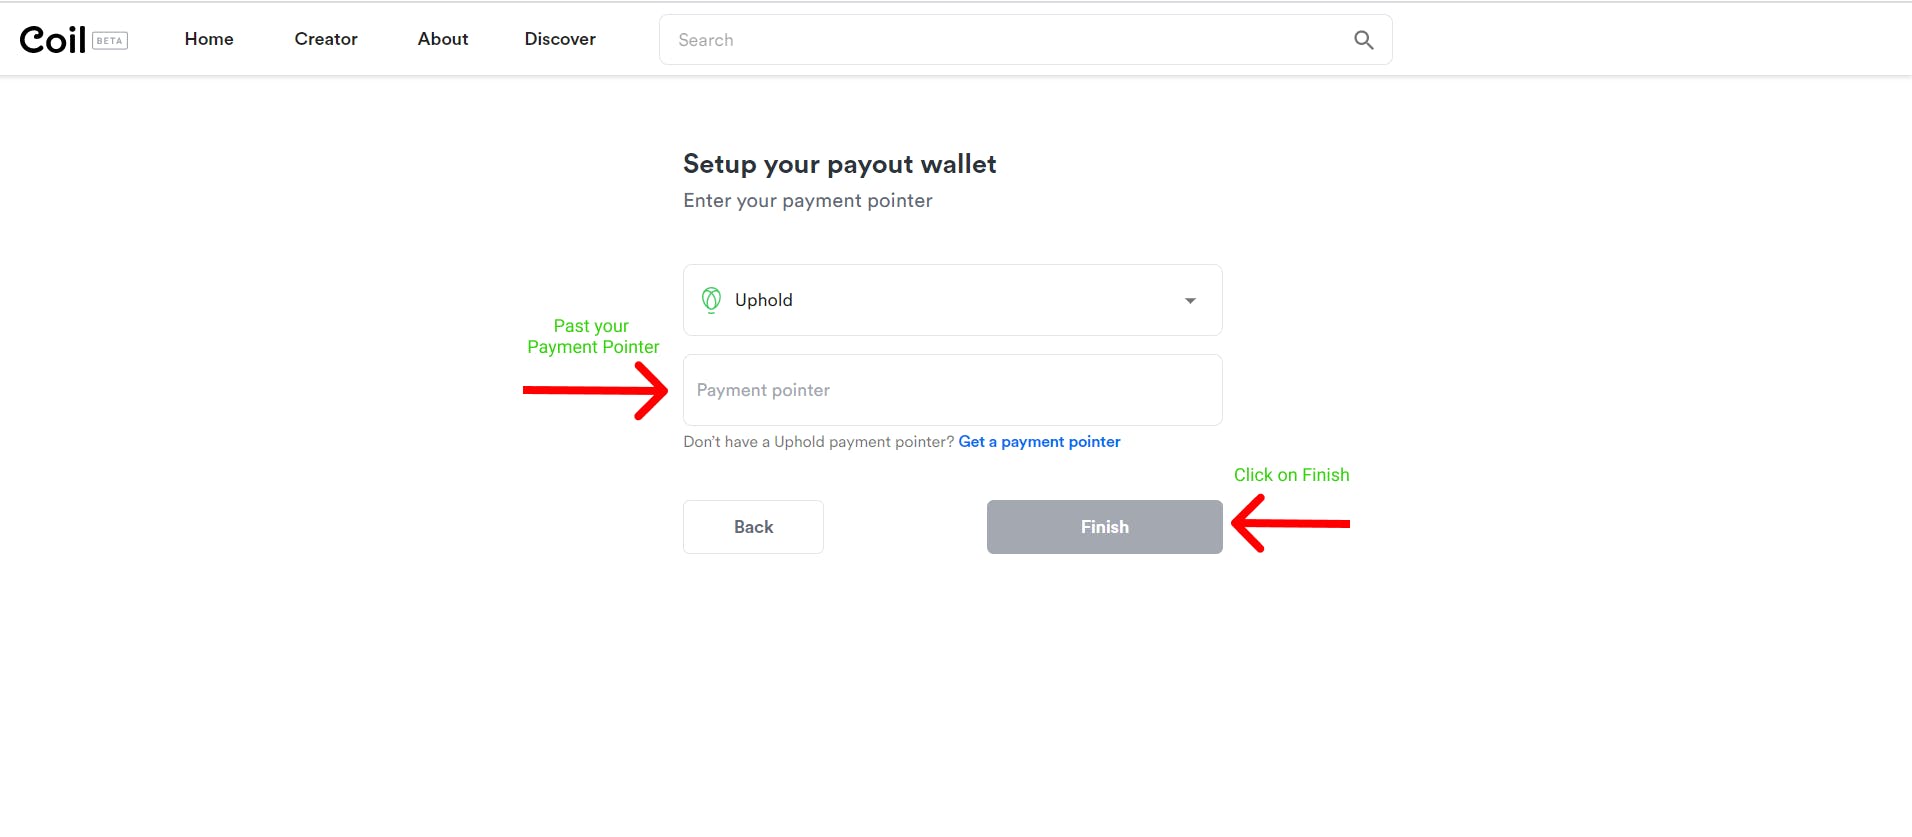
Copy and past your payment pointer (PP) and click finish. You have successfully set up or connected your PP with the Coil. You are now ready to earn money, just like that. I can see your smile, let move on.
4. How To Monetize Your YouTube Channel?
This is one of the best news you can have at your disposal as a new YouTuber who is just starting or already started but have less than 1K members, you can start earning right away. This is where you bypass YouTube Policies. Let us begin the process now.
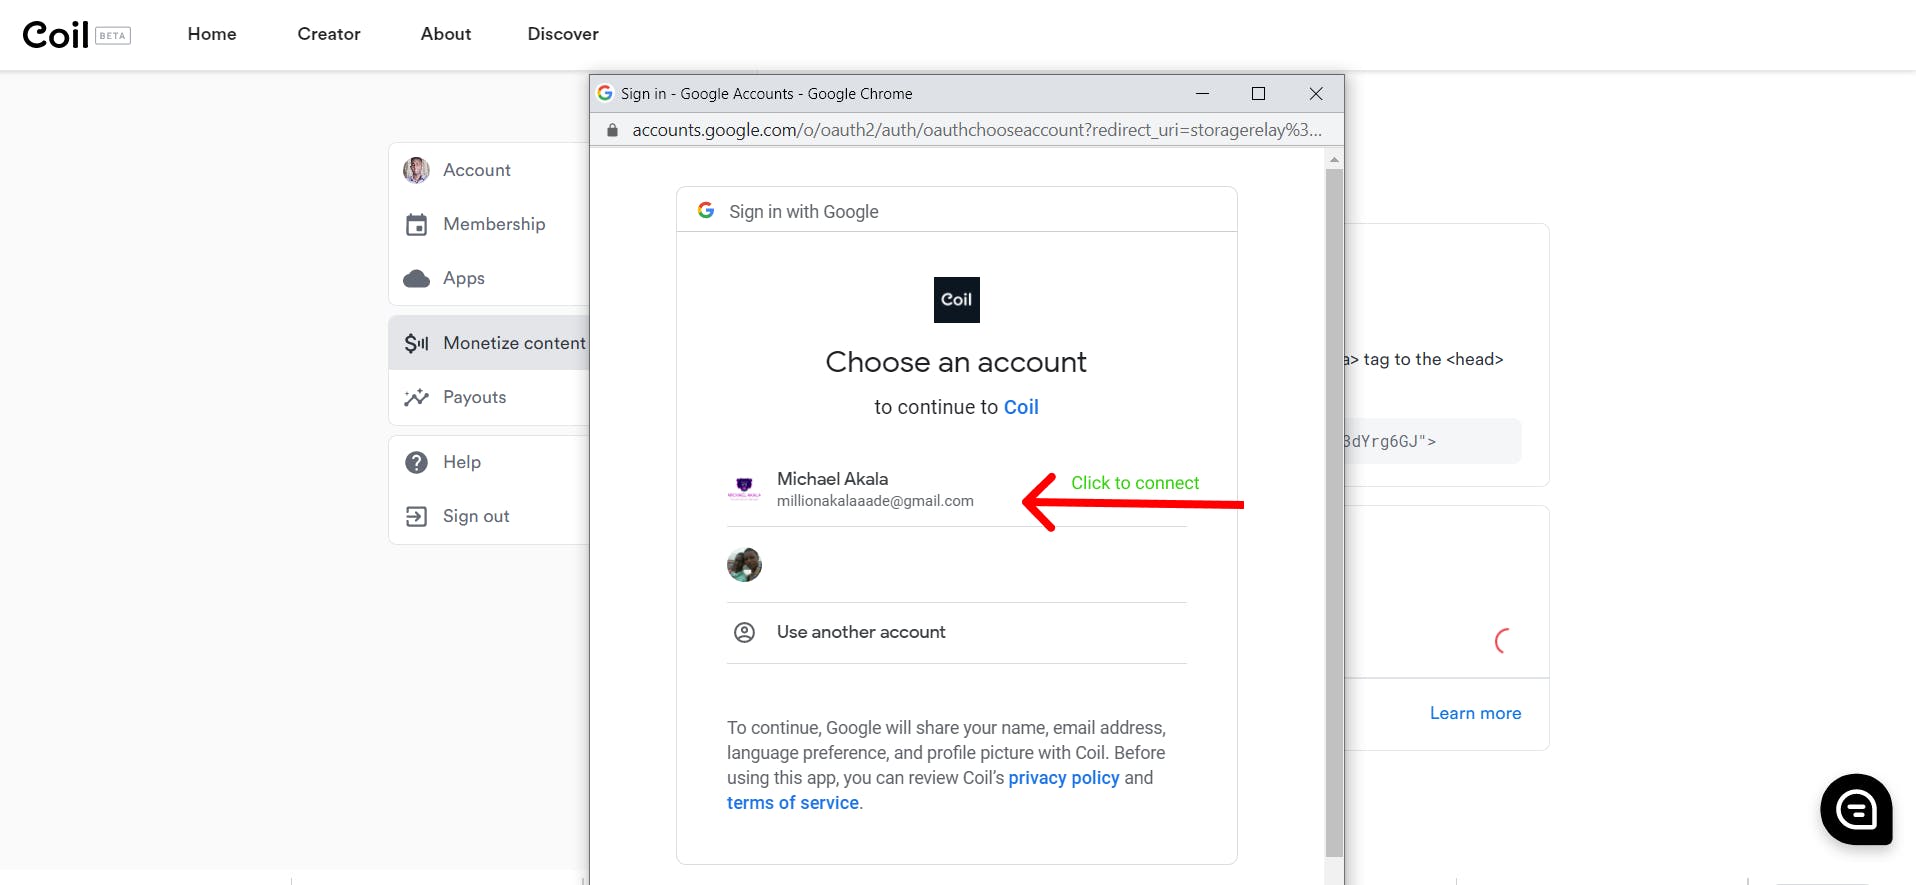
Click monetize content
to connect your YouTube. Note before you click on connect make sure you are logged into your YouTube account for a faster connection.
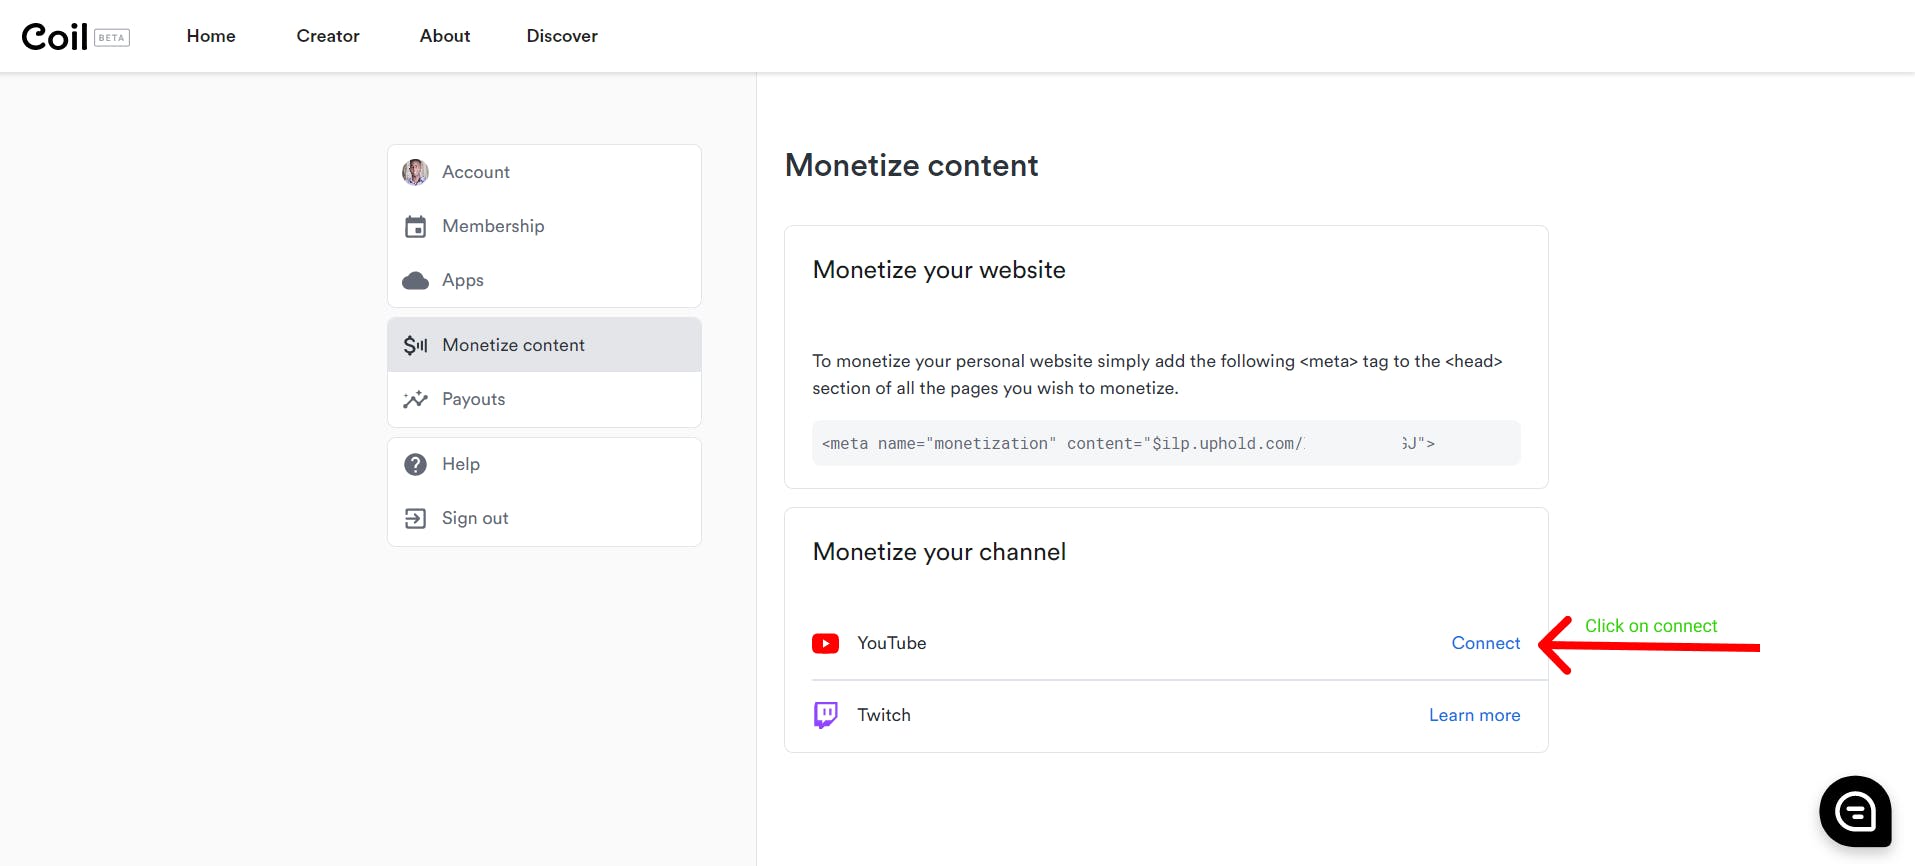
Click on your YouTube Channel to begin to WM your content. It may take a while, wait for it to completely load. You have successfully linked your channel and you can start receiving micropayment for your content.
5. How To Monetize Your Hashnode?
Now you may be wondering what is Hashnode, you don't need to worry, I will give you an introduction about Hashnode. First and foremost I want to congratulate you and also say a big thank you since you still following me and allowing me to hold your hands till this moment, I give you a 👍.
Hashnode is a free developer blogging platform that allows you to publish articles on your own domain and helps you stay connected with a global developer in real-time. Hashnode has grown to become one of the best platforms for tech content creators in 2021. With the unique feature that allows you to claim total ownership of all your publication or content 100%. And now with the new support for web monetization, Hashnode has elevated its standards.
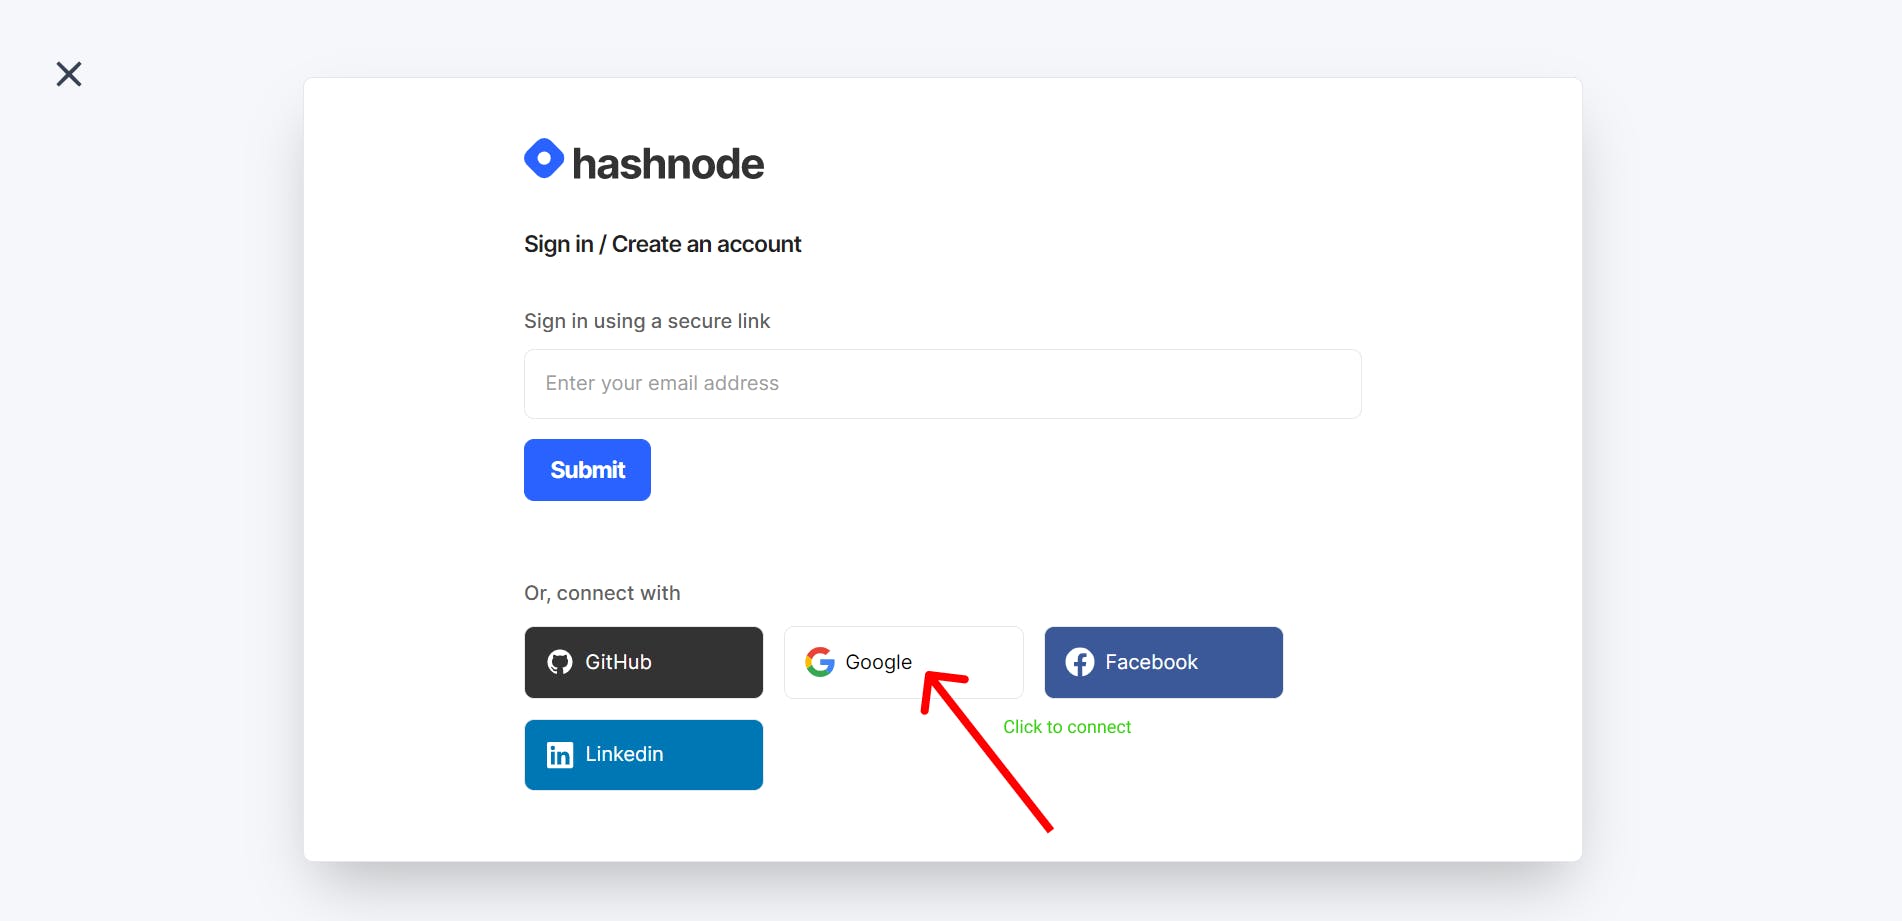
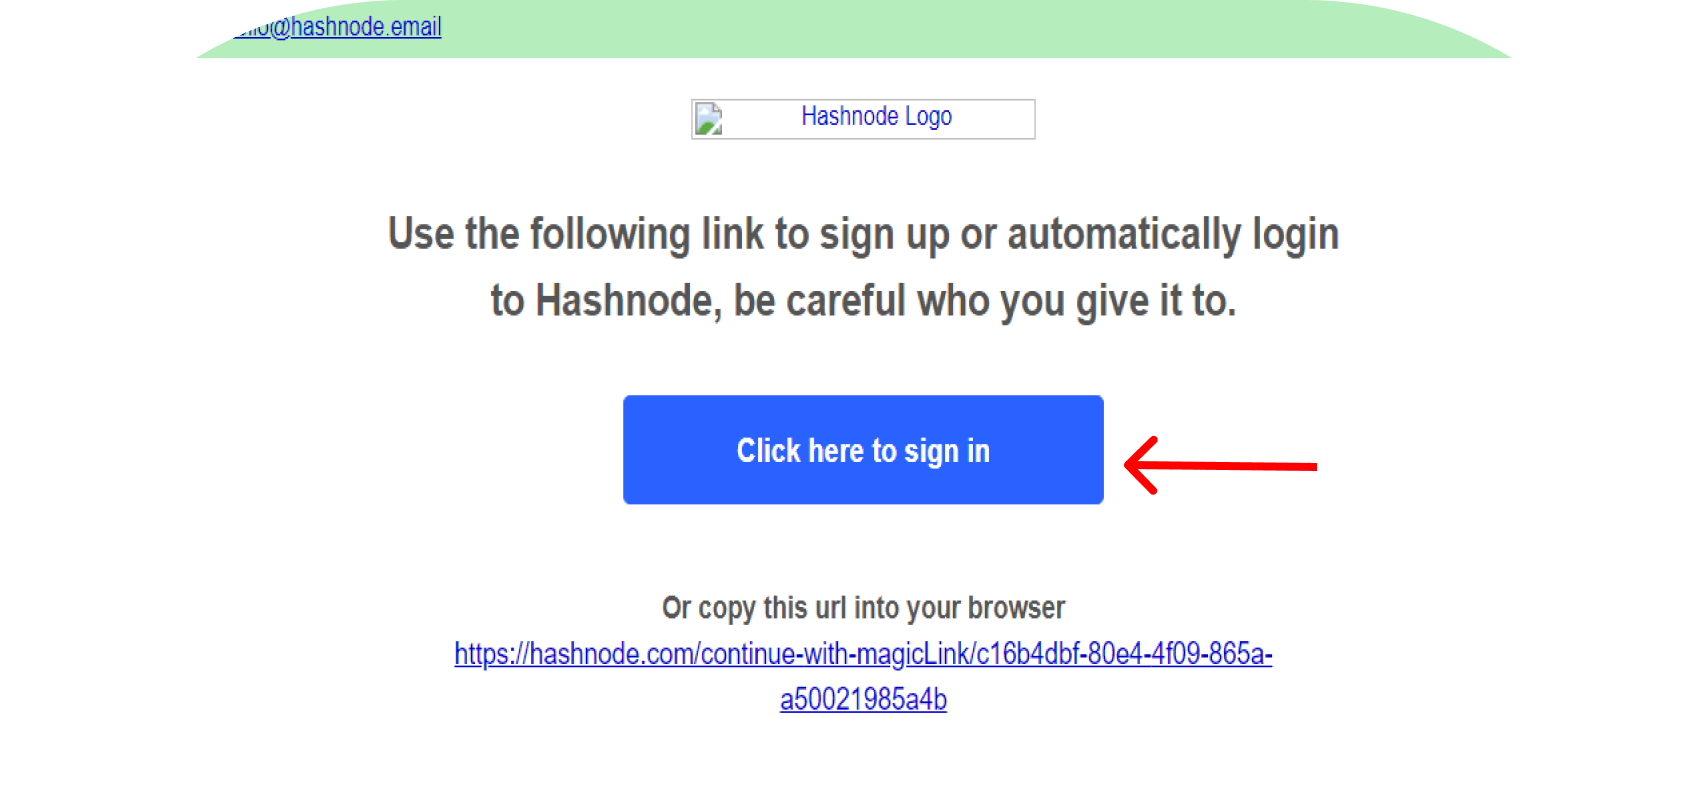
Now let us set our account, I want to assume you don't have an account yet. Click on Hashnode to signup now. Click on Google to speed up the process, then check your mail and click sign up.
Click sign up to continue.
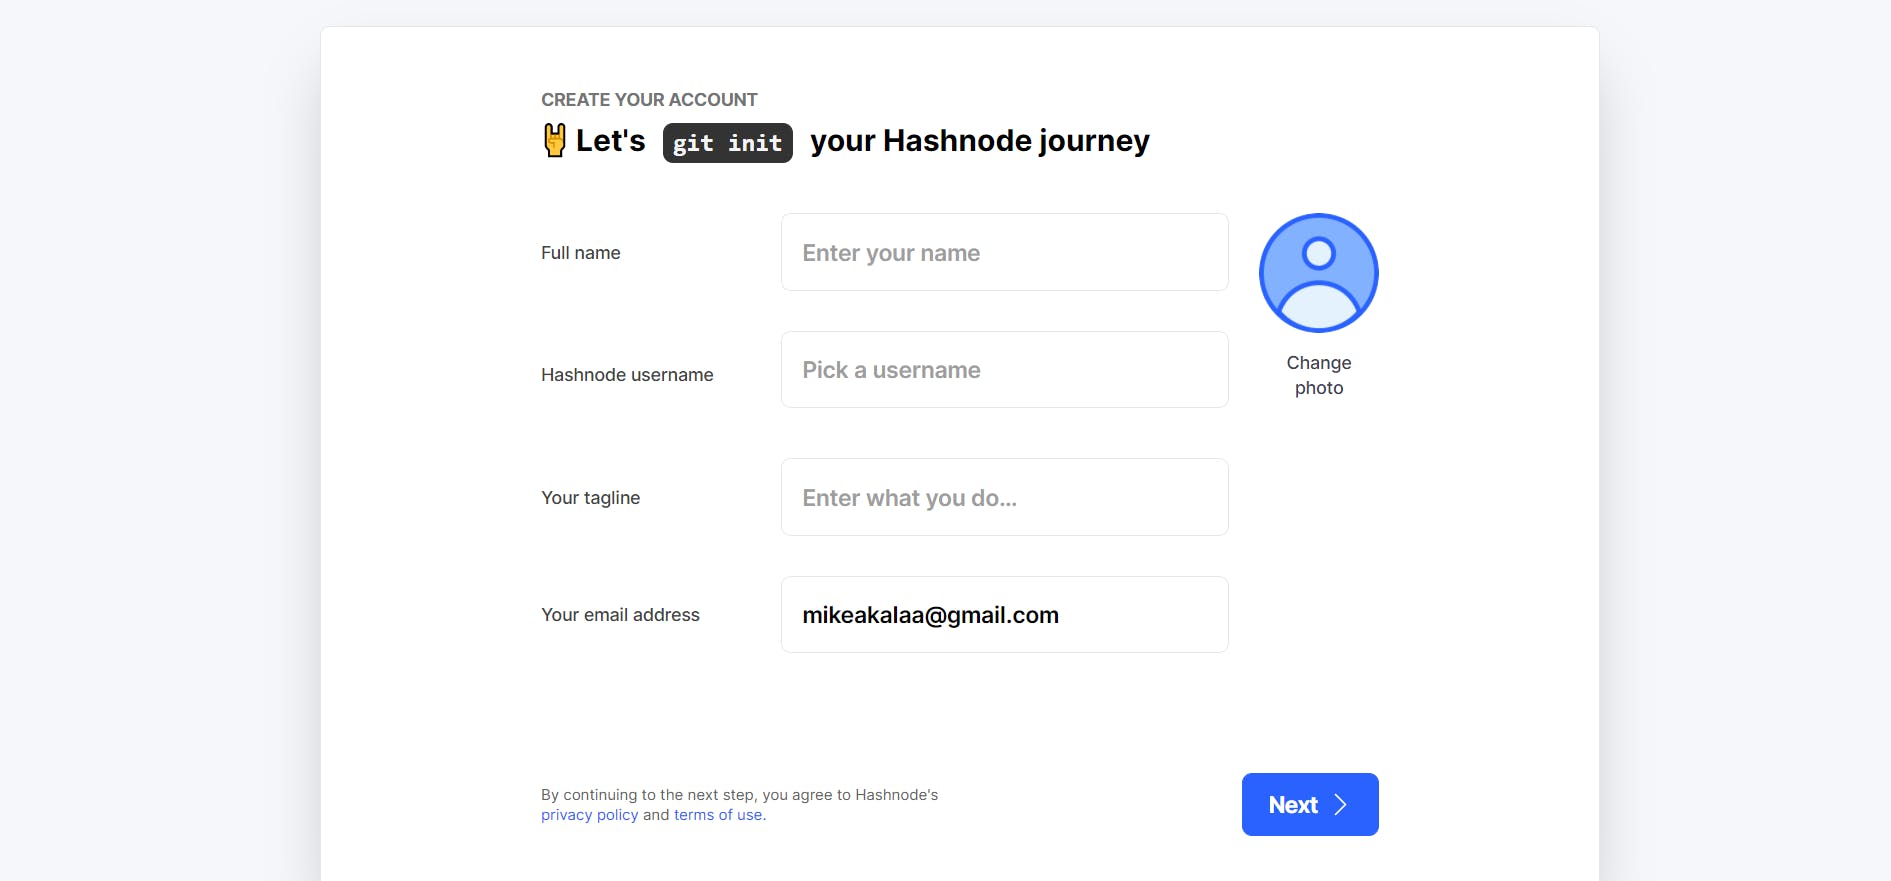
Fill in your details correctly.
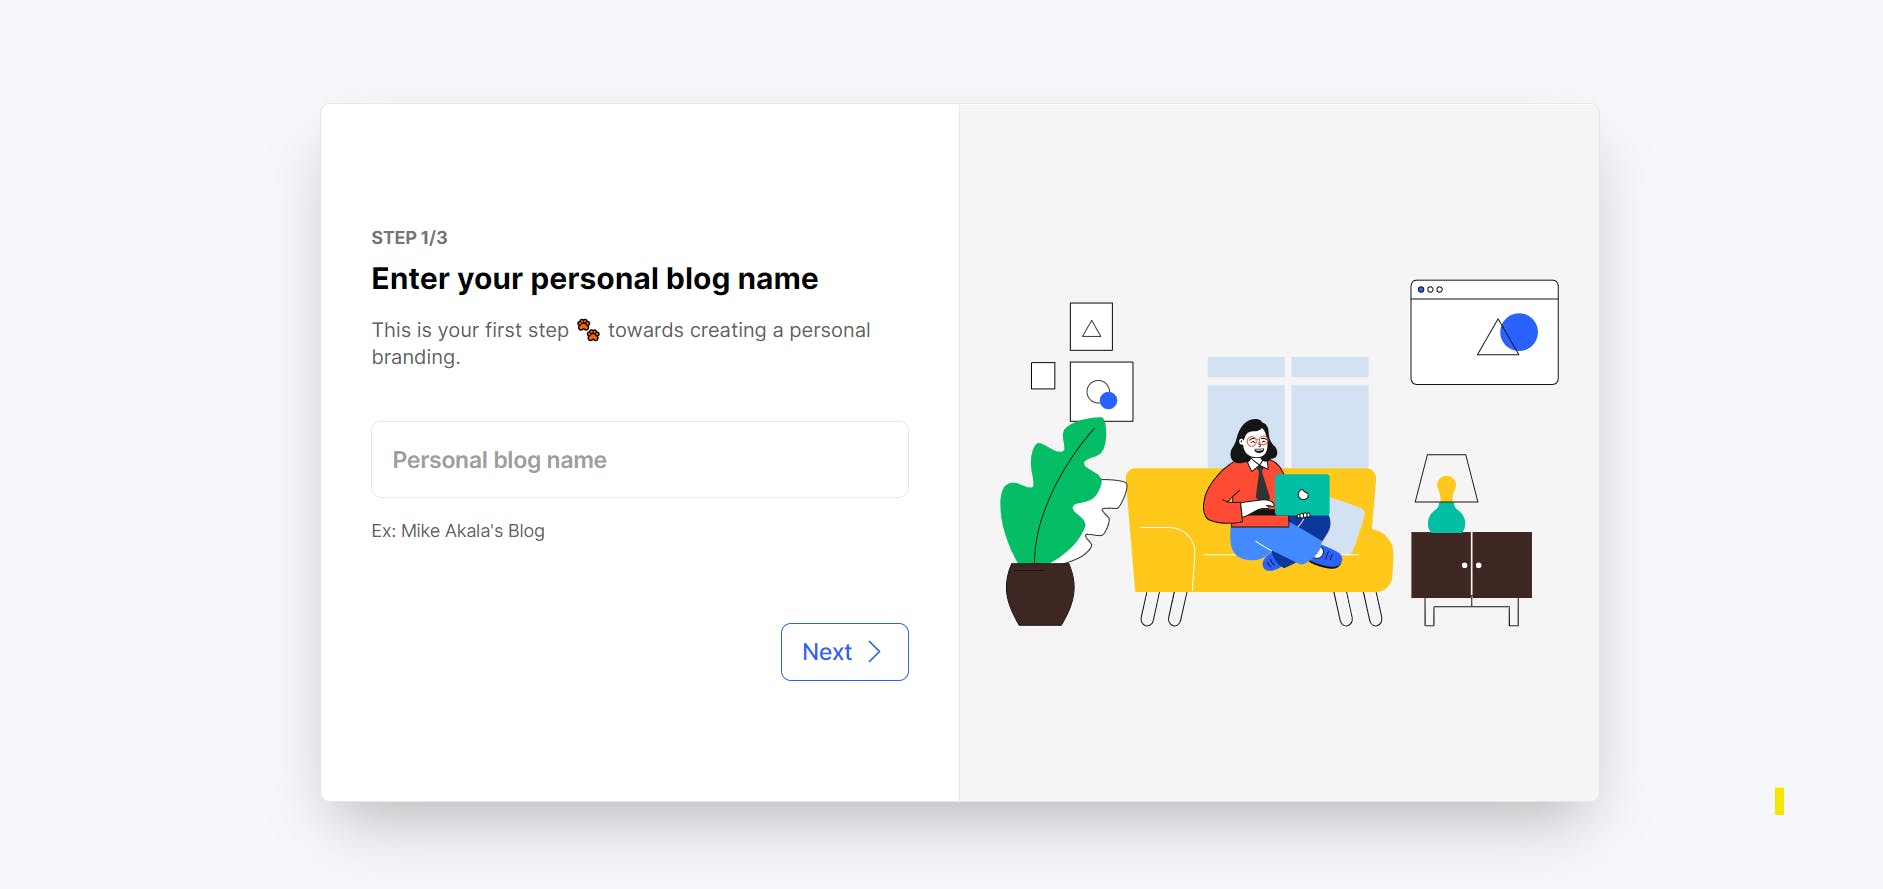
Choose your personal Blog name
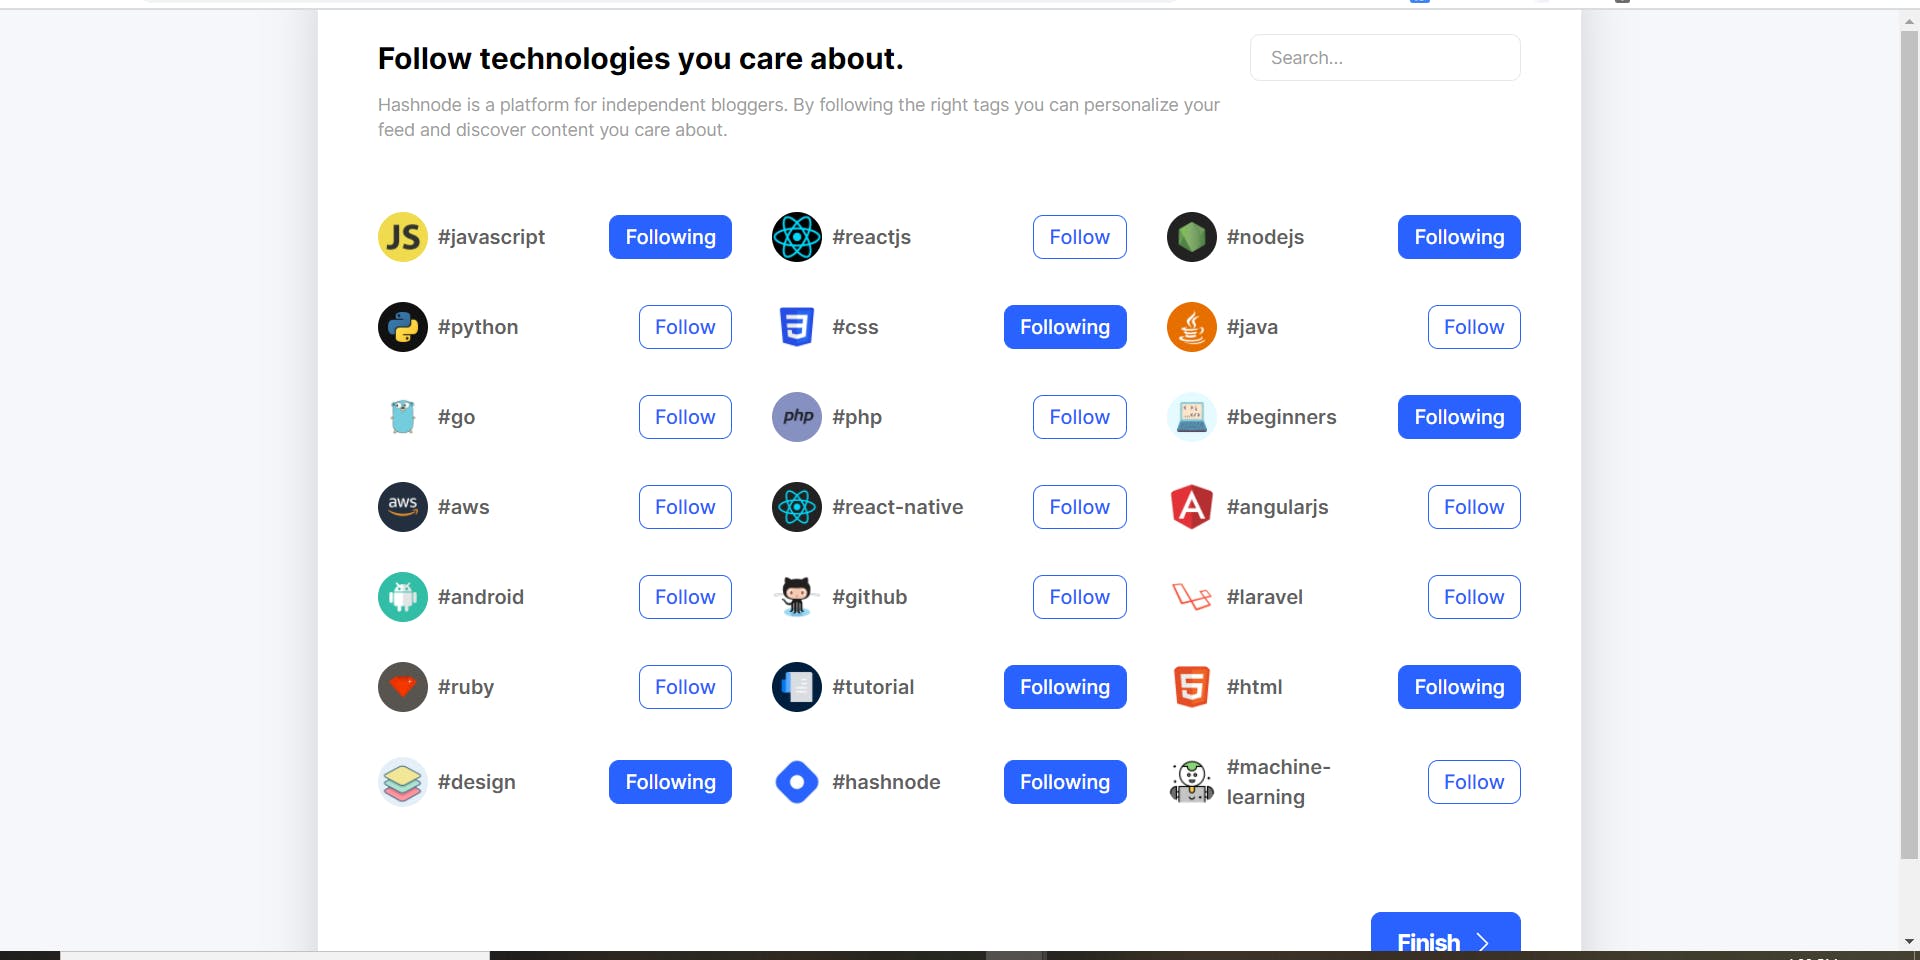
Follow the Technology you care about.
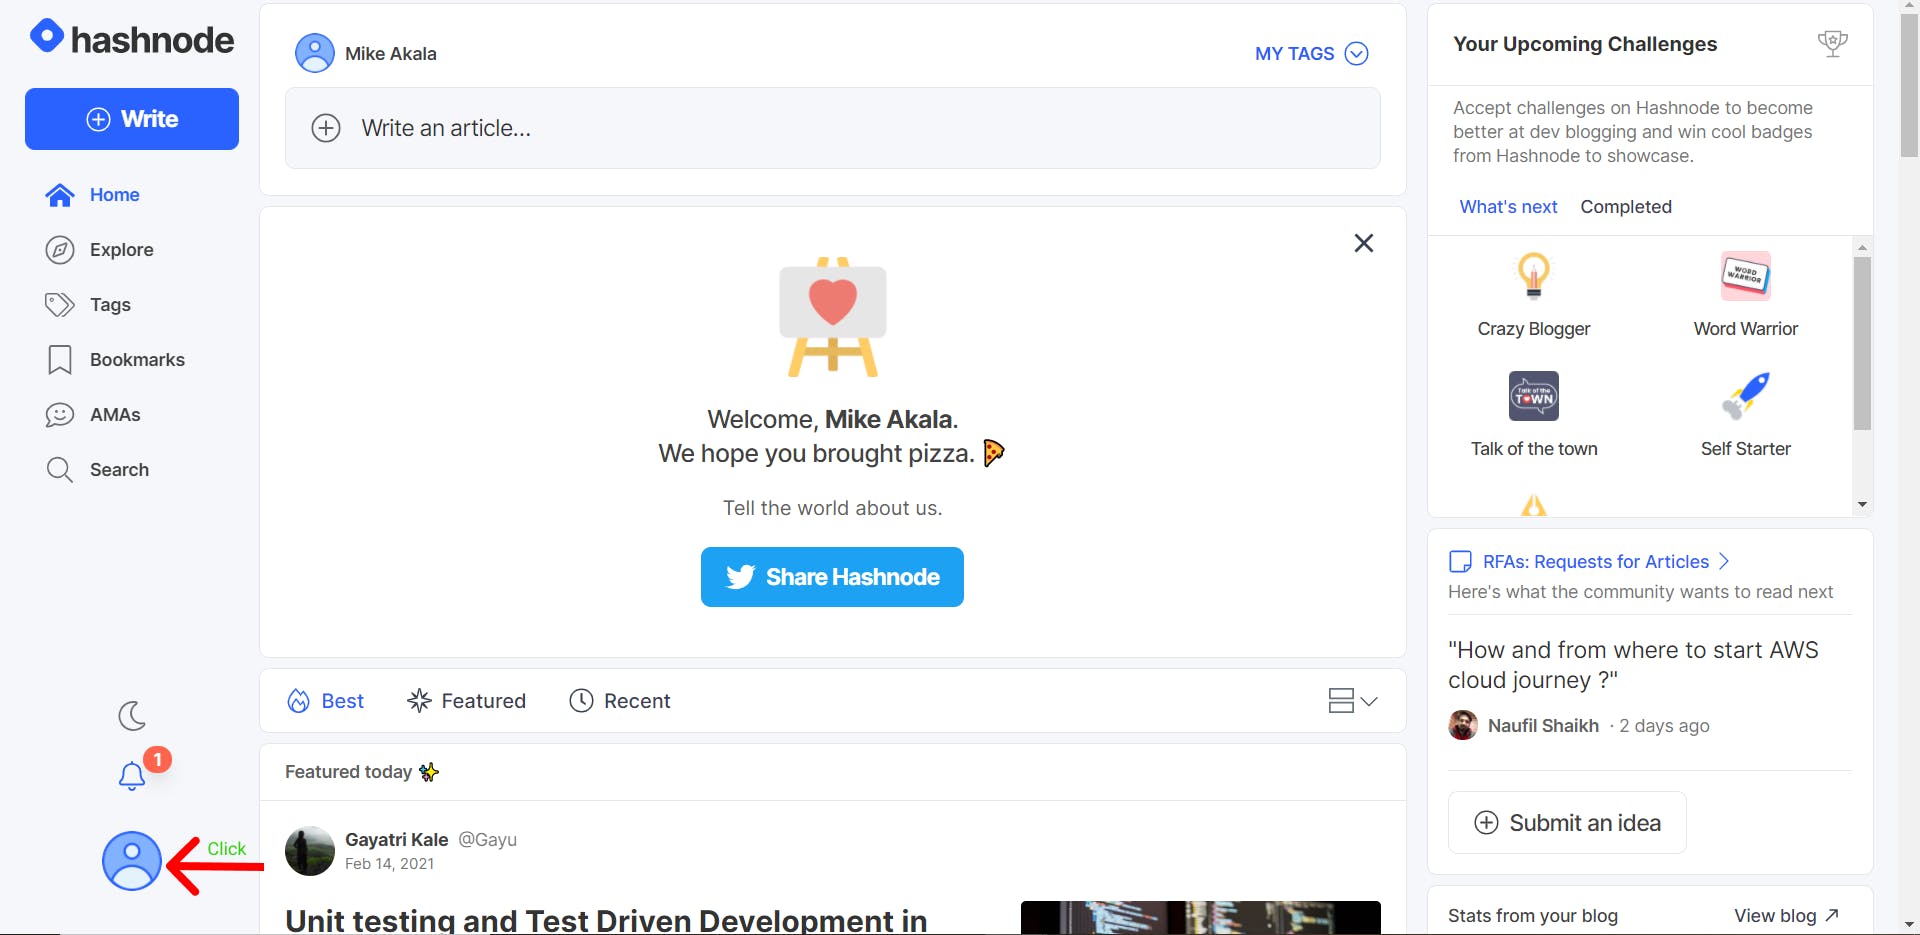
You have completed the sign-up for Hashnode. Now let processed it to the next stage, which is to add our payment pointer. Click on your profile picture logo.
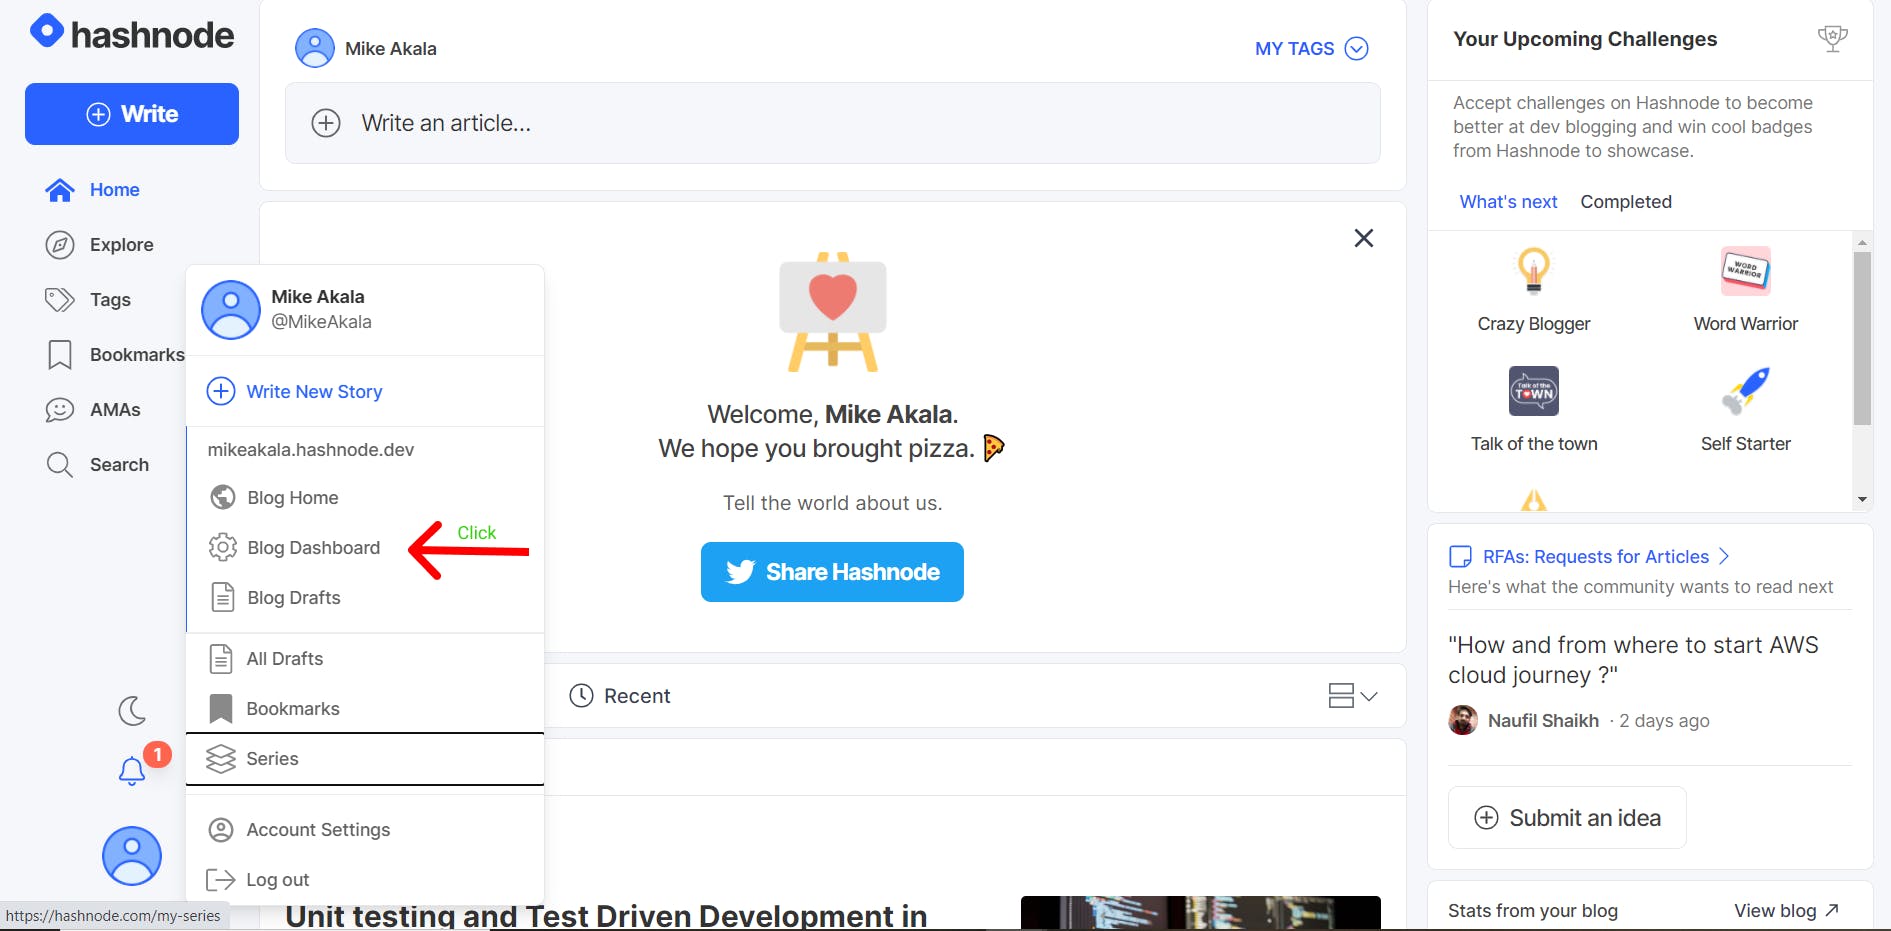
Click on the Blog Dashboard
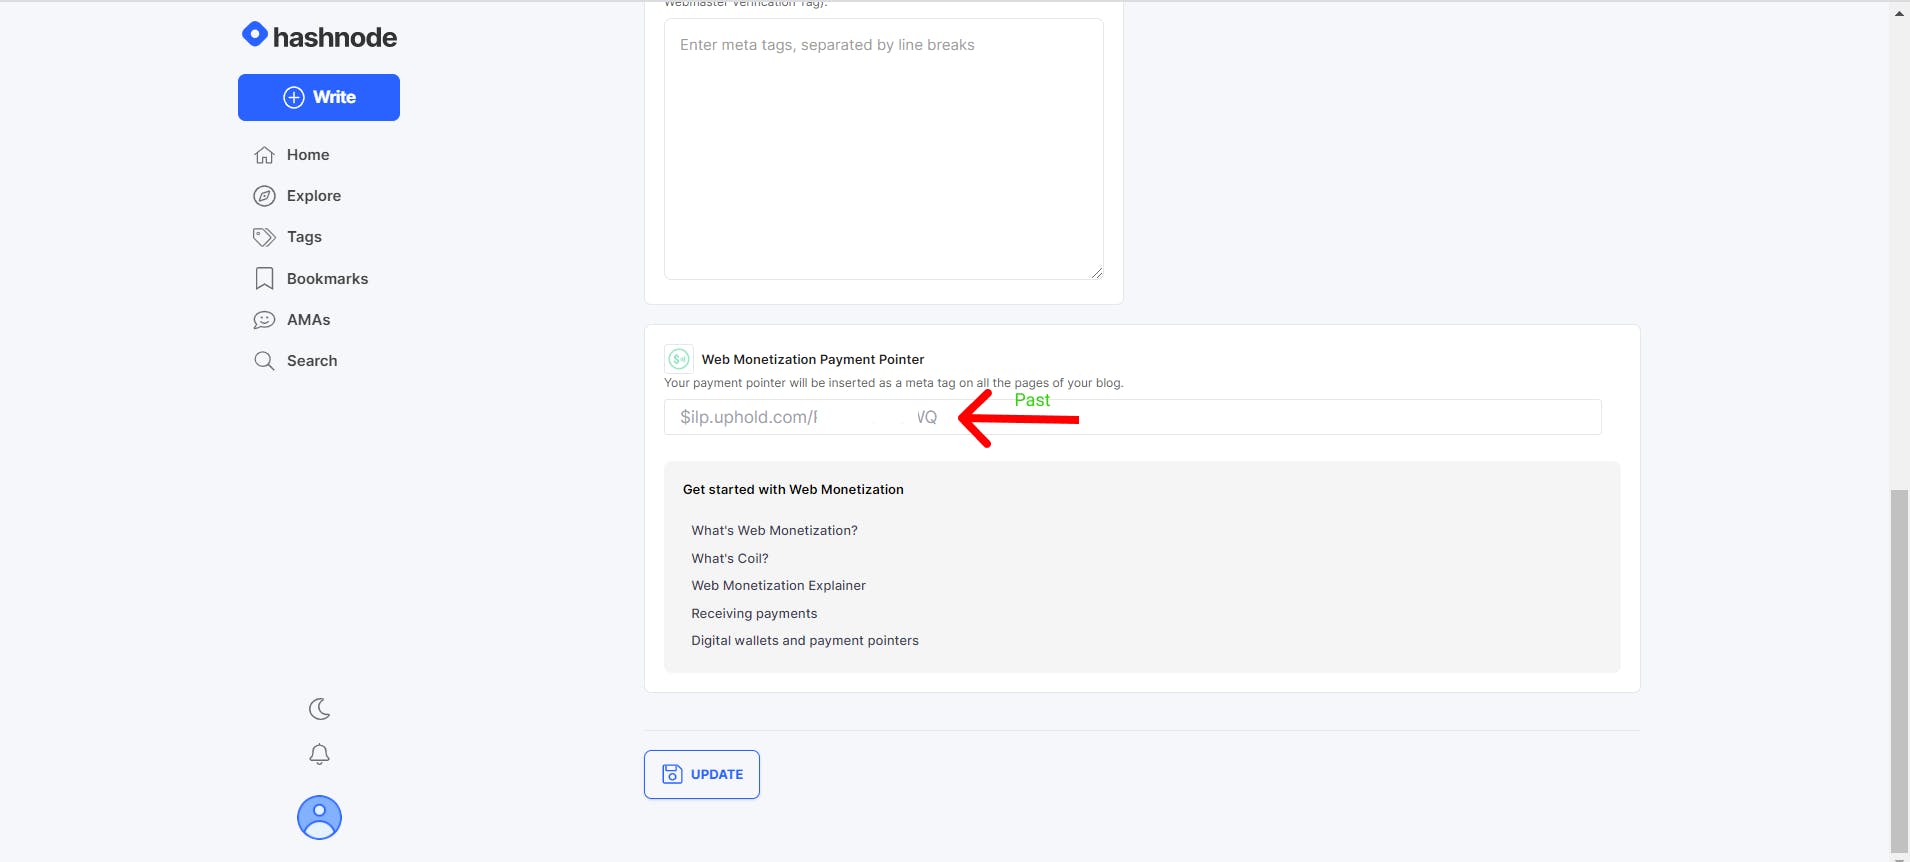
Next, click on Integrations and scroll down to find the payment pointer. You can as well fill in all your URL for your social media.
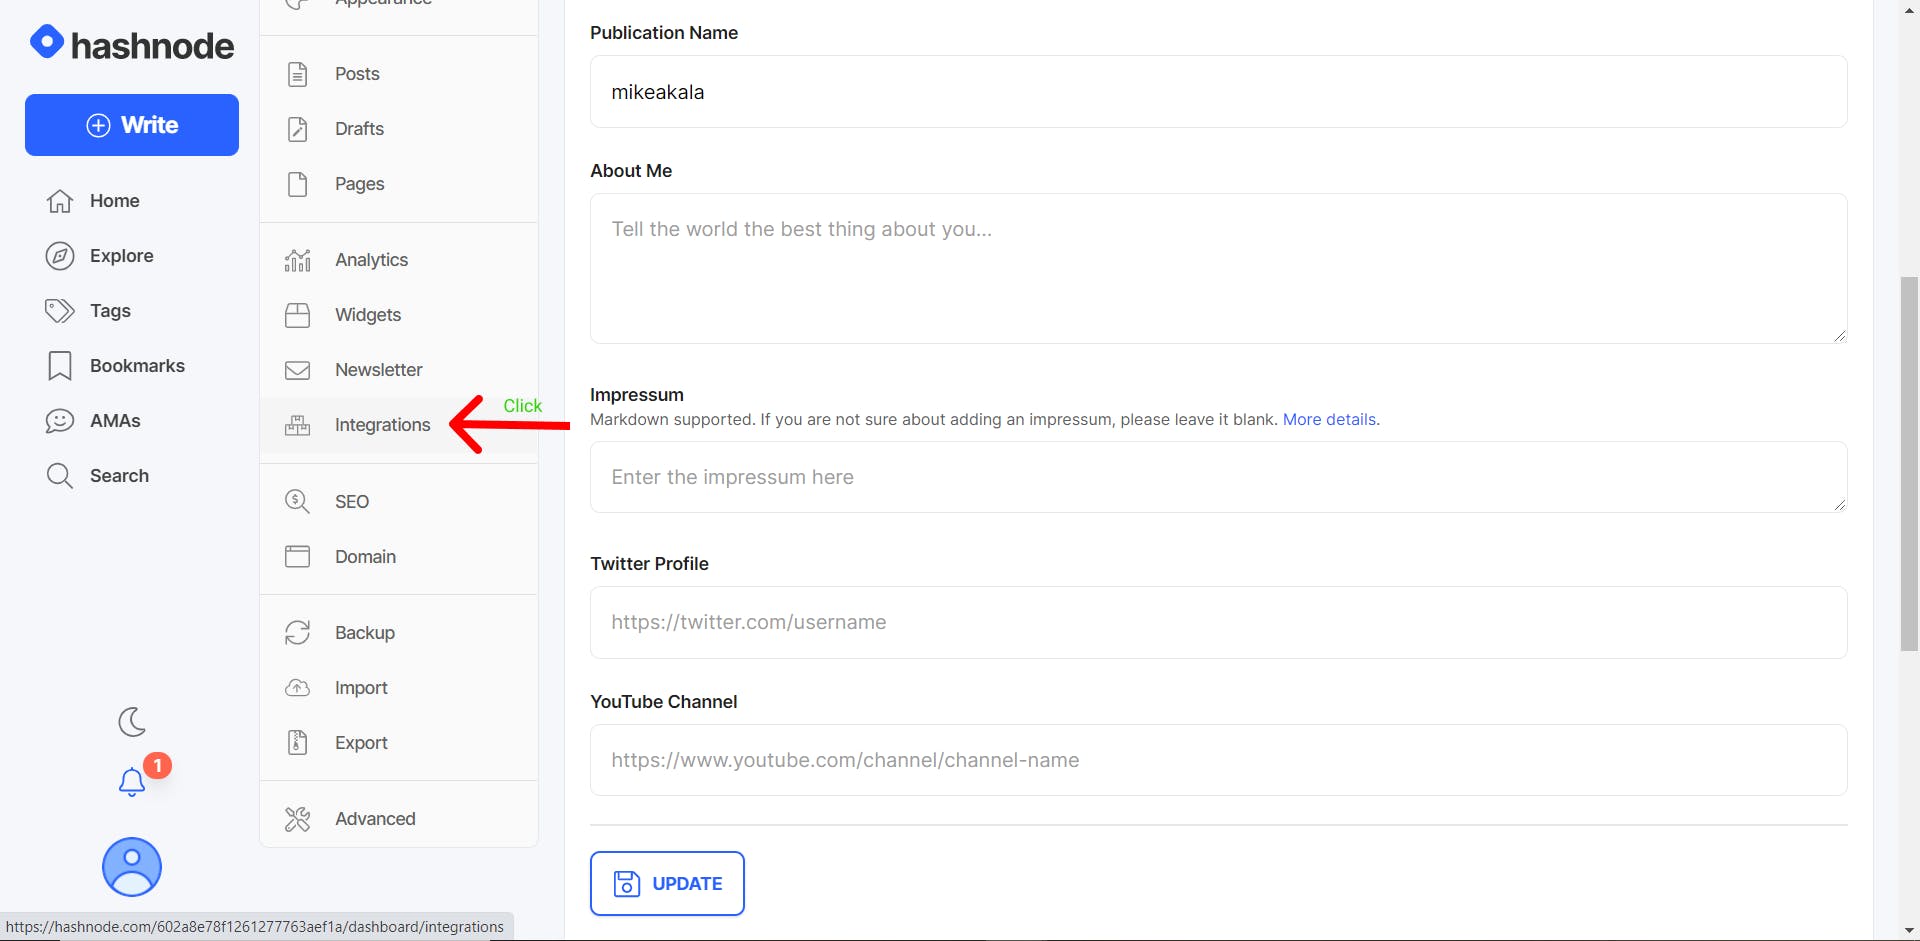
Scroll down to place your payment pointer.
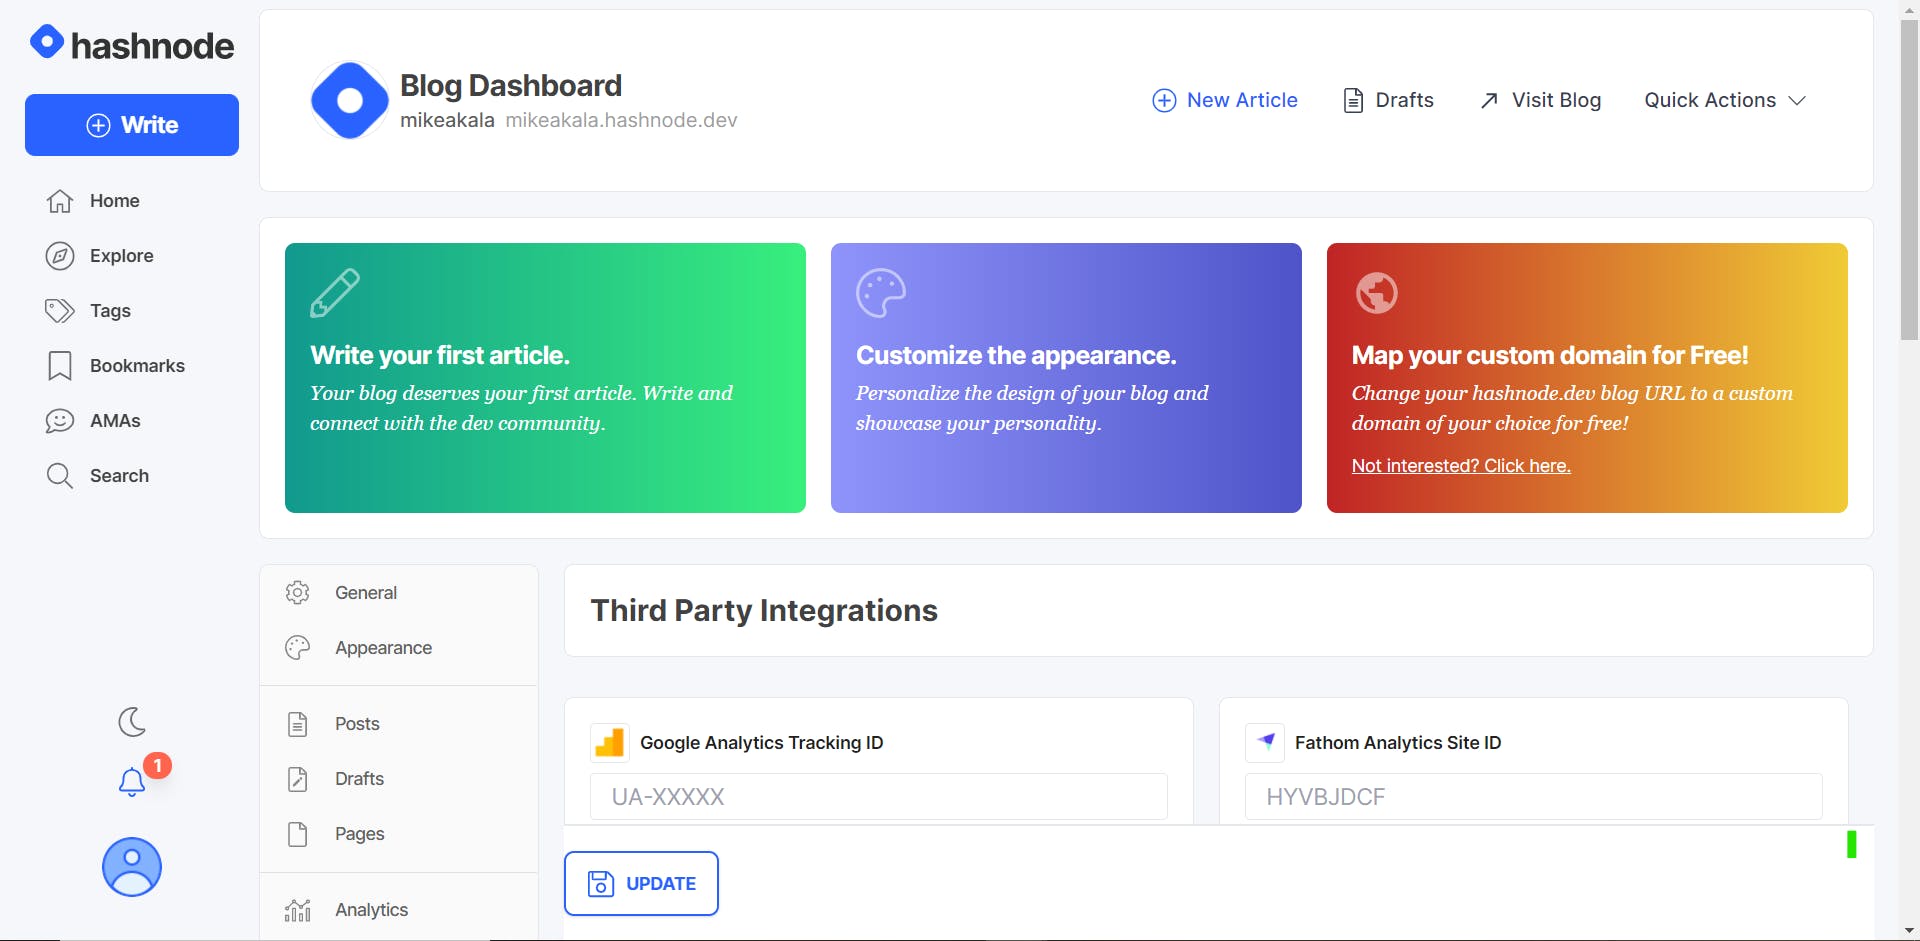
Past your Payment Pointer. You have just successfully initiated WM on your Hashnode.
6. How To Monetize Your Dev Community
Dev Community is a constructive and inclusive social network for software developers. With you every step of your journey. Dev Community is a similitude to Hashnode.
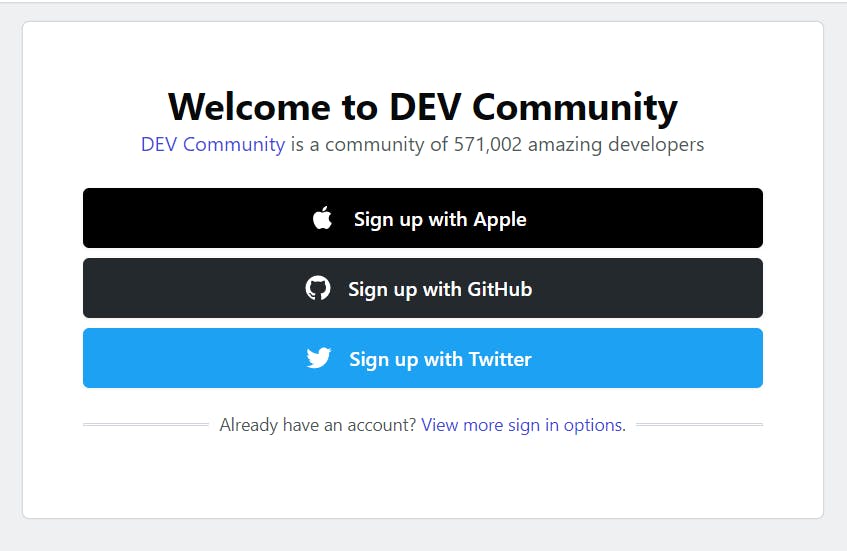
Let proceed, let me also assume you don't have an account. Click on sign up
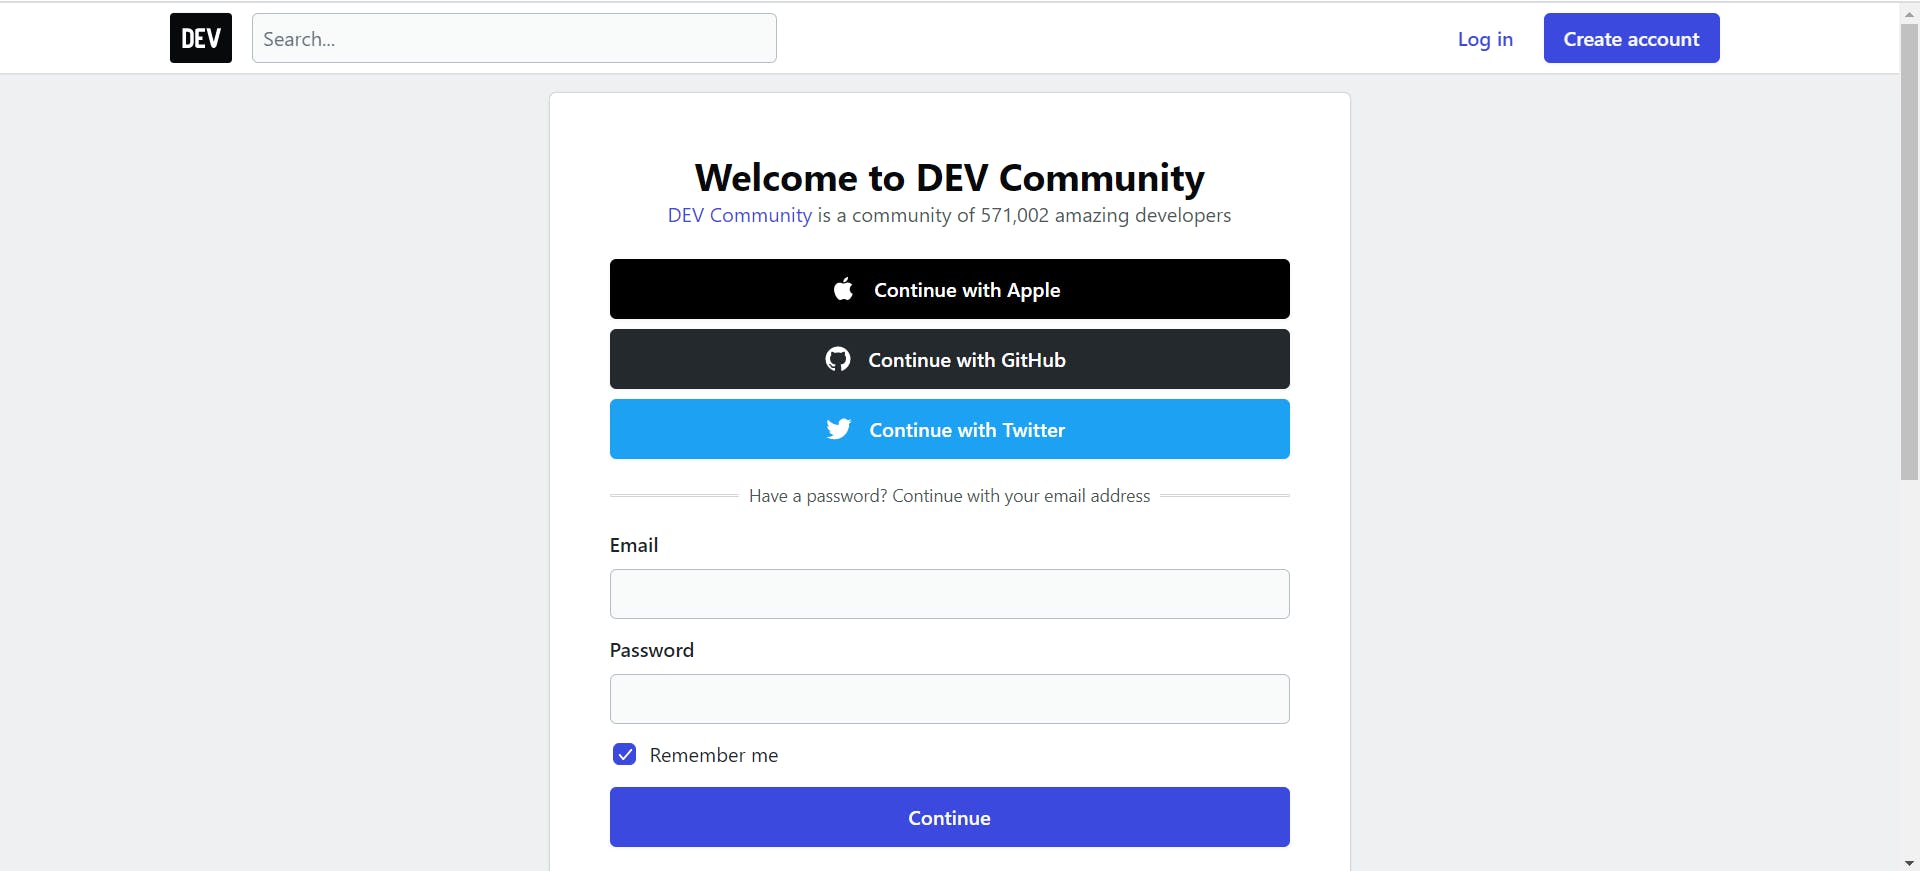 ink) to get an account. As a developer, you are expected to have a Github account, if you don't have one, click on Github sign up, choose from the option that best suit you. Follow the simple step you followed in opening Hashnod.
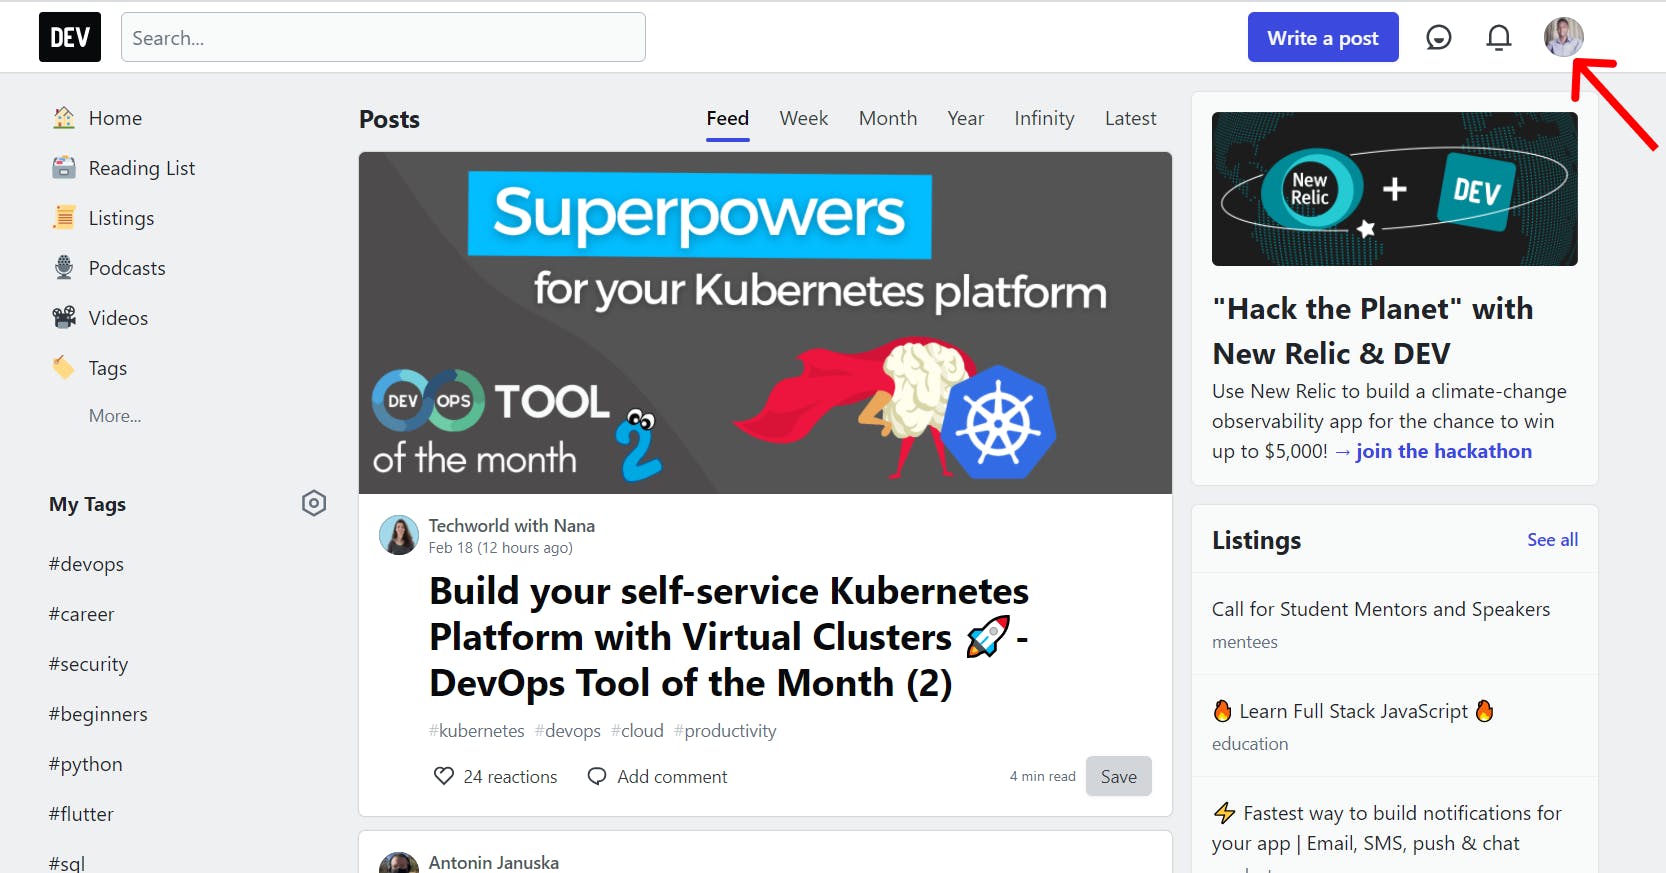
Click on your profile picture icon as we proceed to connect your Payment Pointer (PP). I believe by now you are done with account signup.
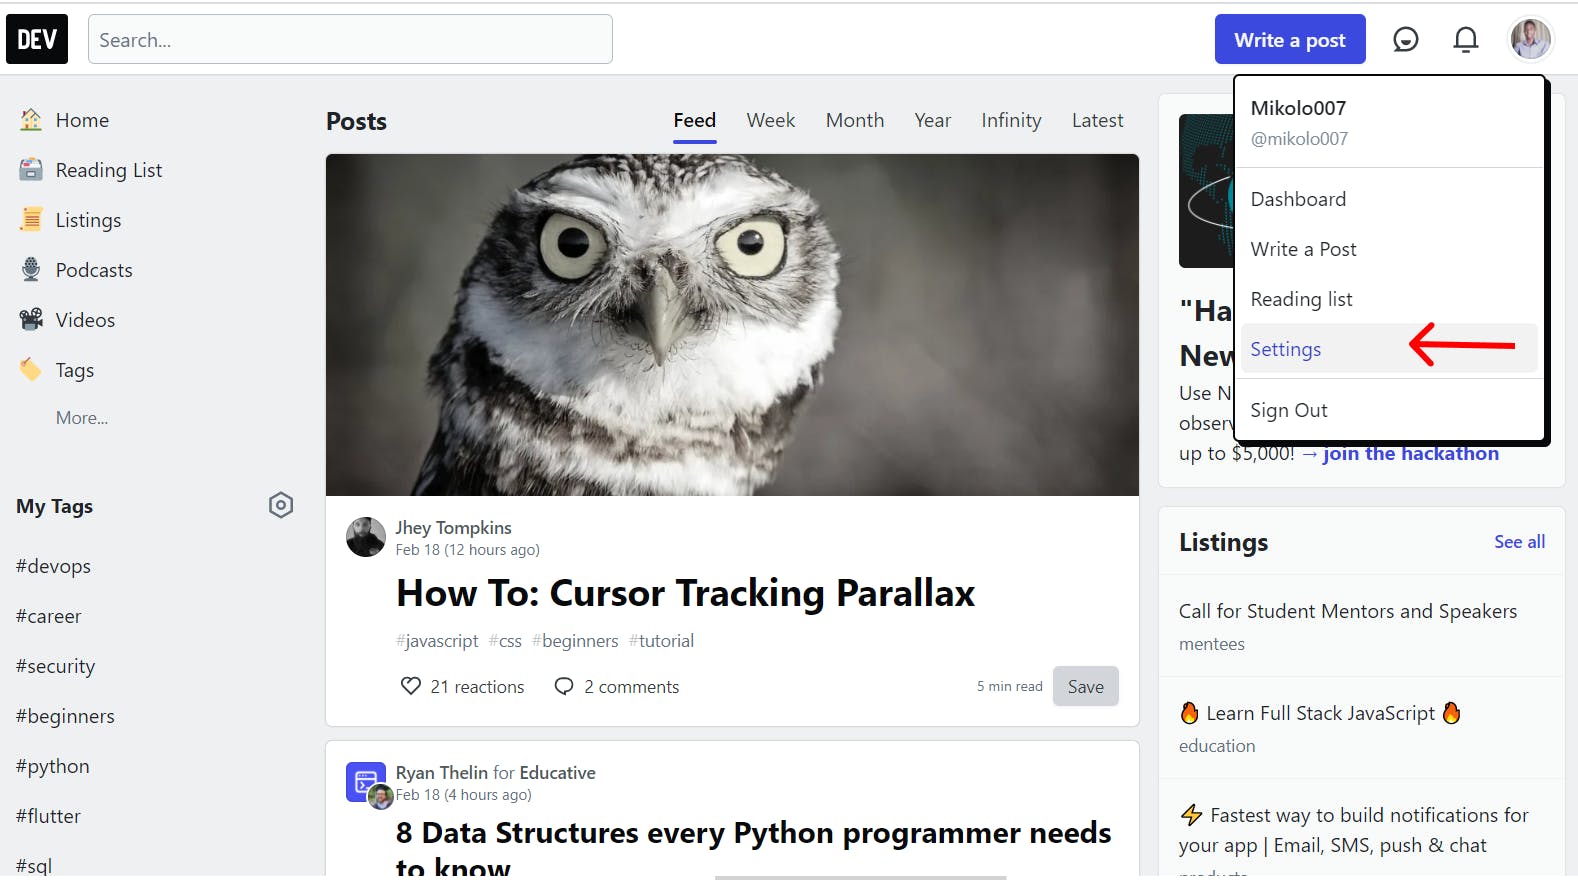
Click on settings.
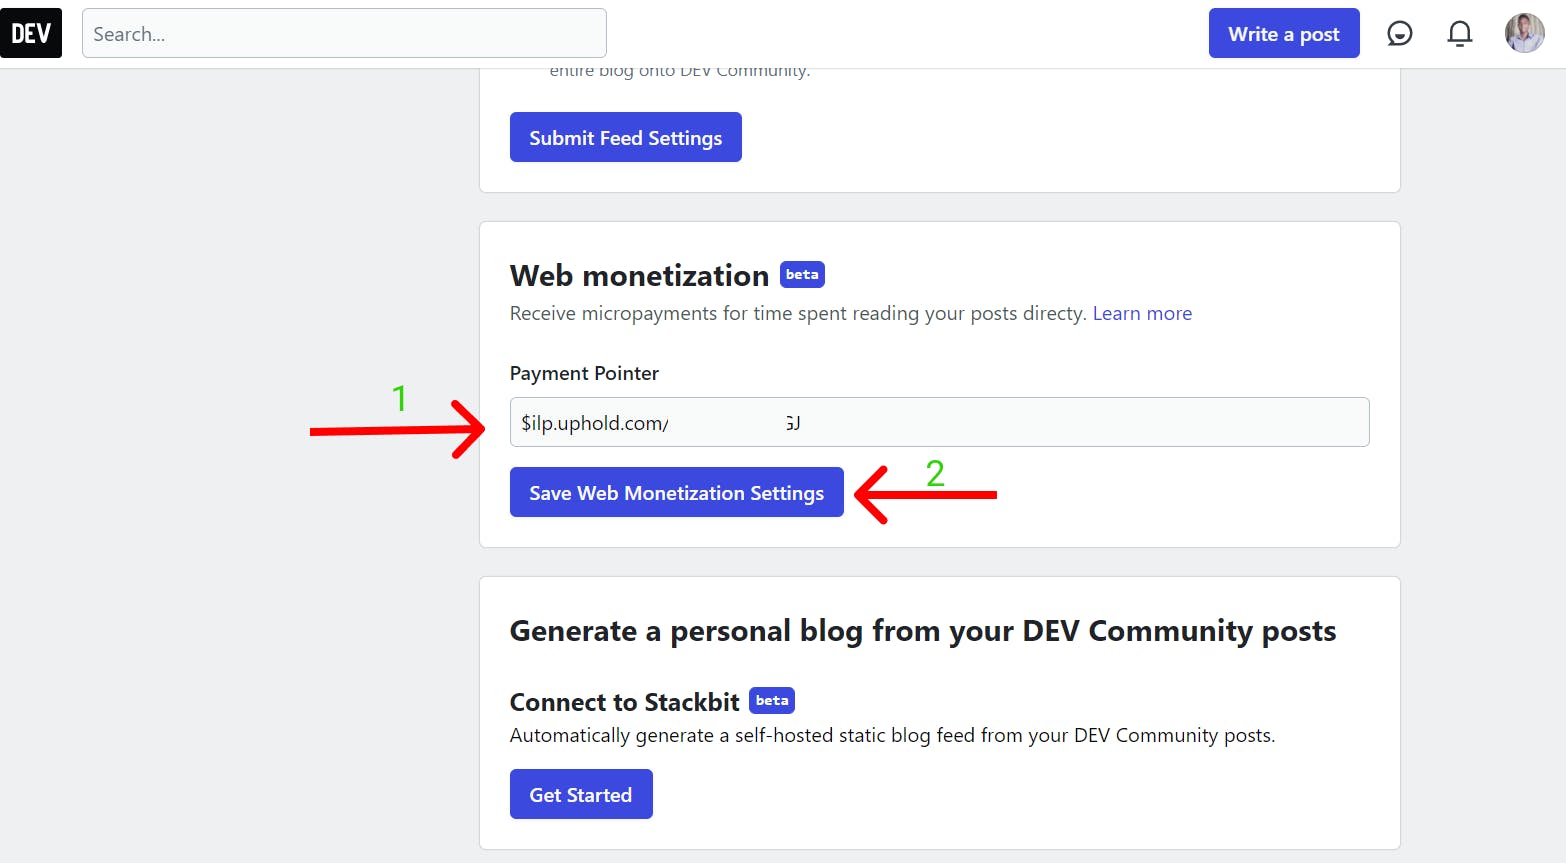
Click on Extensions and scroll down until you see Web monetization.
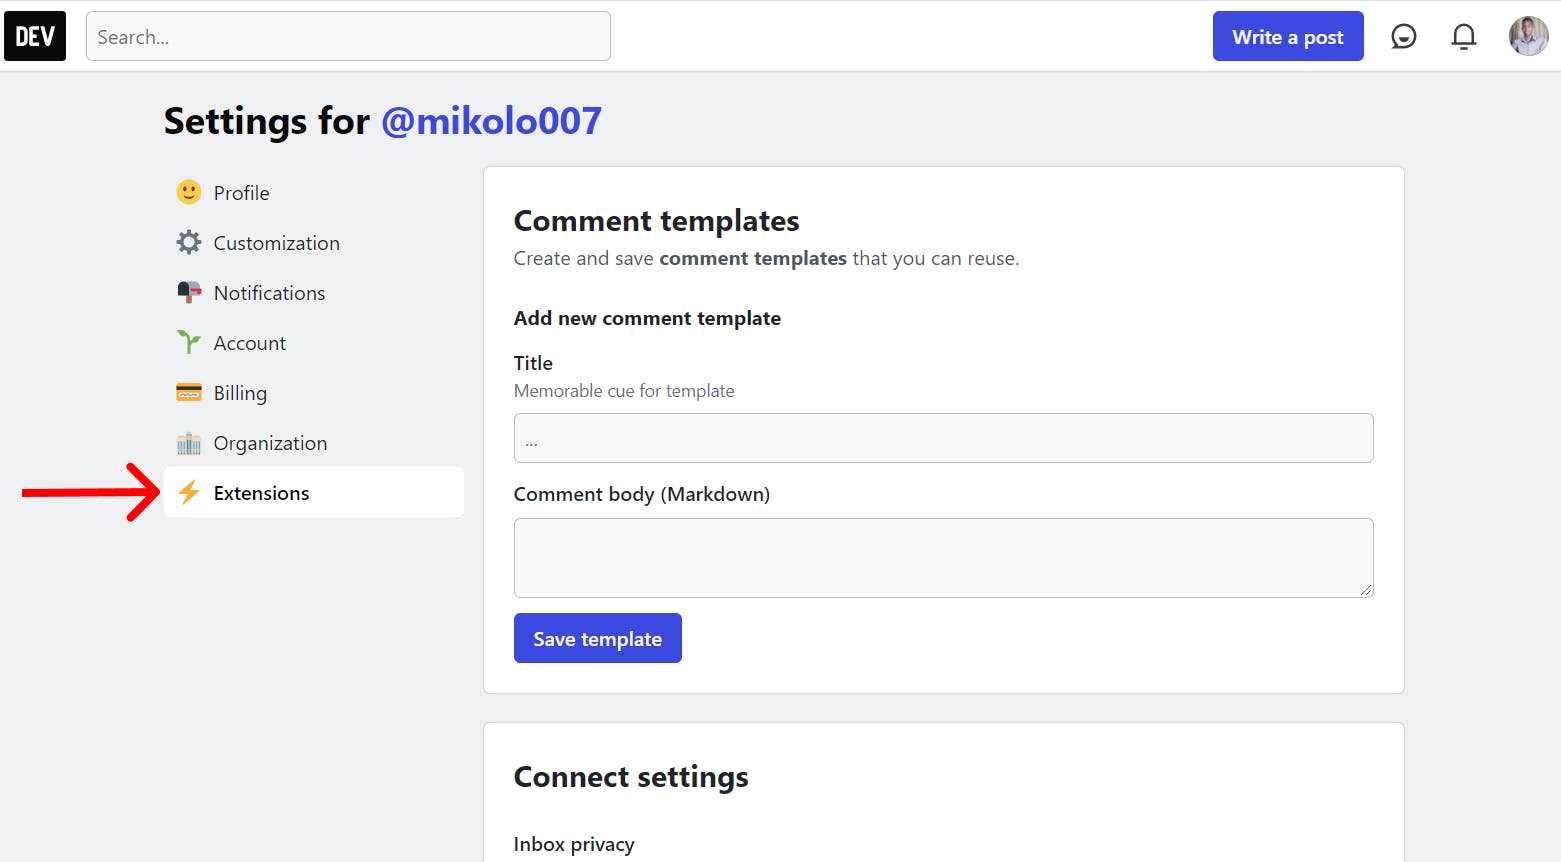
Now past your payment pointer in the box and click save Web Monetization. Congratulation🤝 you have now successfully carried out all available tasks, I believe you are very much excited that you did it yourself. Why don't you leave a comment below for me, tell me your experience all the way, and follow me to get to read the next post.
7. How To Web Monetization Your Website?
Website Monetization is very cool, you begin to get paid by people who just view your website, click, and spending time on it, even with them not knowing sometimes. You have set up your payment pointer, and have also connected to the Coil, it comes with a Meta Tag automatically. Click on Meta Tage to get it.
Below is your Meta Tag
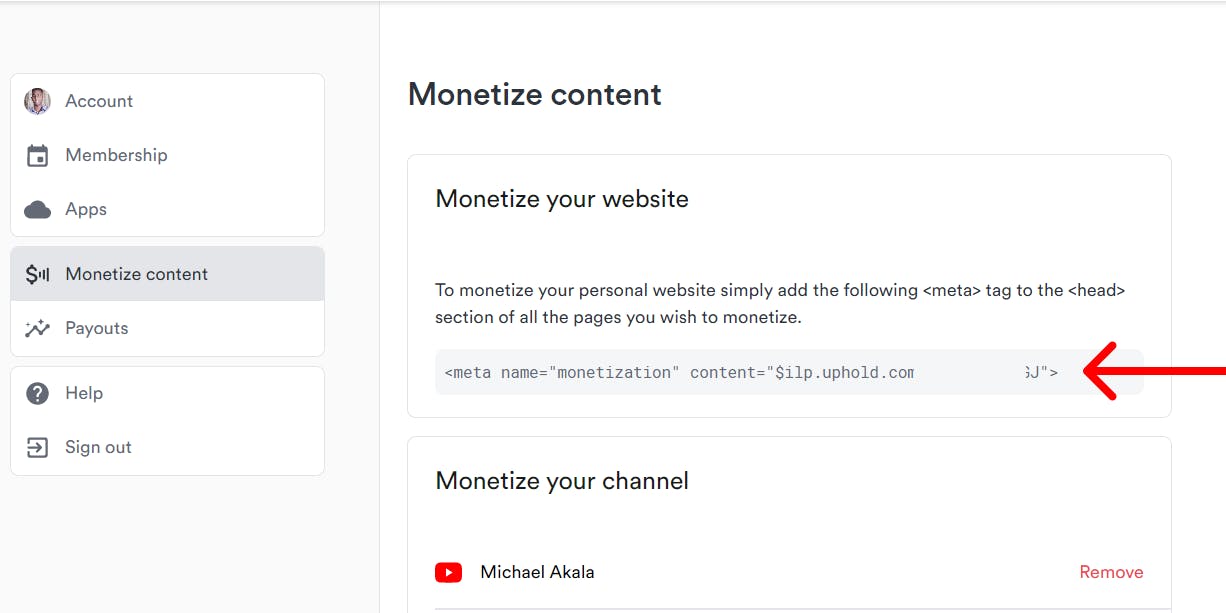
Add the meta tag to your website# Copy your tag and add it to the section of each page you want to monetize. Note Web Monetization only works on secure pages served over HTTPS. You are to copy the format below and edited the payment point on this one. Congratulations! Your website is now web monetized.
<!doctype html>
<html>
  <head>
    <title>Web Monetized Site</title>
    <meta
      name="monetization"
      content="$wallet.example.com/alice">
  </head>
</html>
8. What you should watch out for.
- I will be giving you a video tutorial step-by-step procedure on how to do all we have done here.
- I will be providing more modules in which you can WM your content.
Watch the video on Step by Step Process to Get Started in Monetizing YouTube, Hashnode, Dev Community, and Website.
9. What I am expecting from you.
- I am expecting your comment and emojis.
- I am expecting your questions.
- I am expecting your encouragement and a lot more.

